Template management
QuickCreator empowers you to design your blog's look and feel with customizable templates for Blog Home Page, Single Posts, and Category Page, ensuring a consistent and visually appealing experience for your readers.

Site Styles
You can customize your site's overall color scheme, text styles, and button designs by opening any template page and switching to "Site Styles" in the settings panel on the right side of the page.
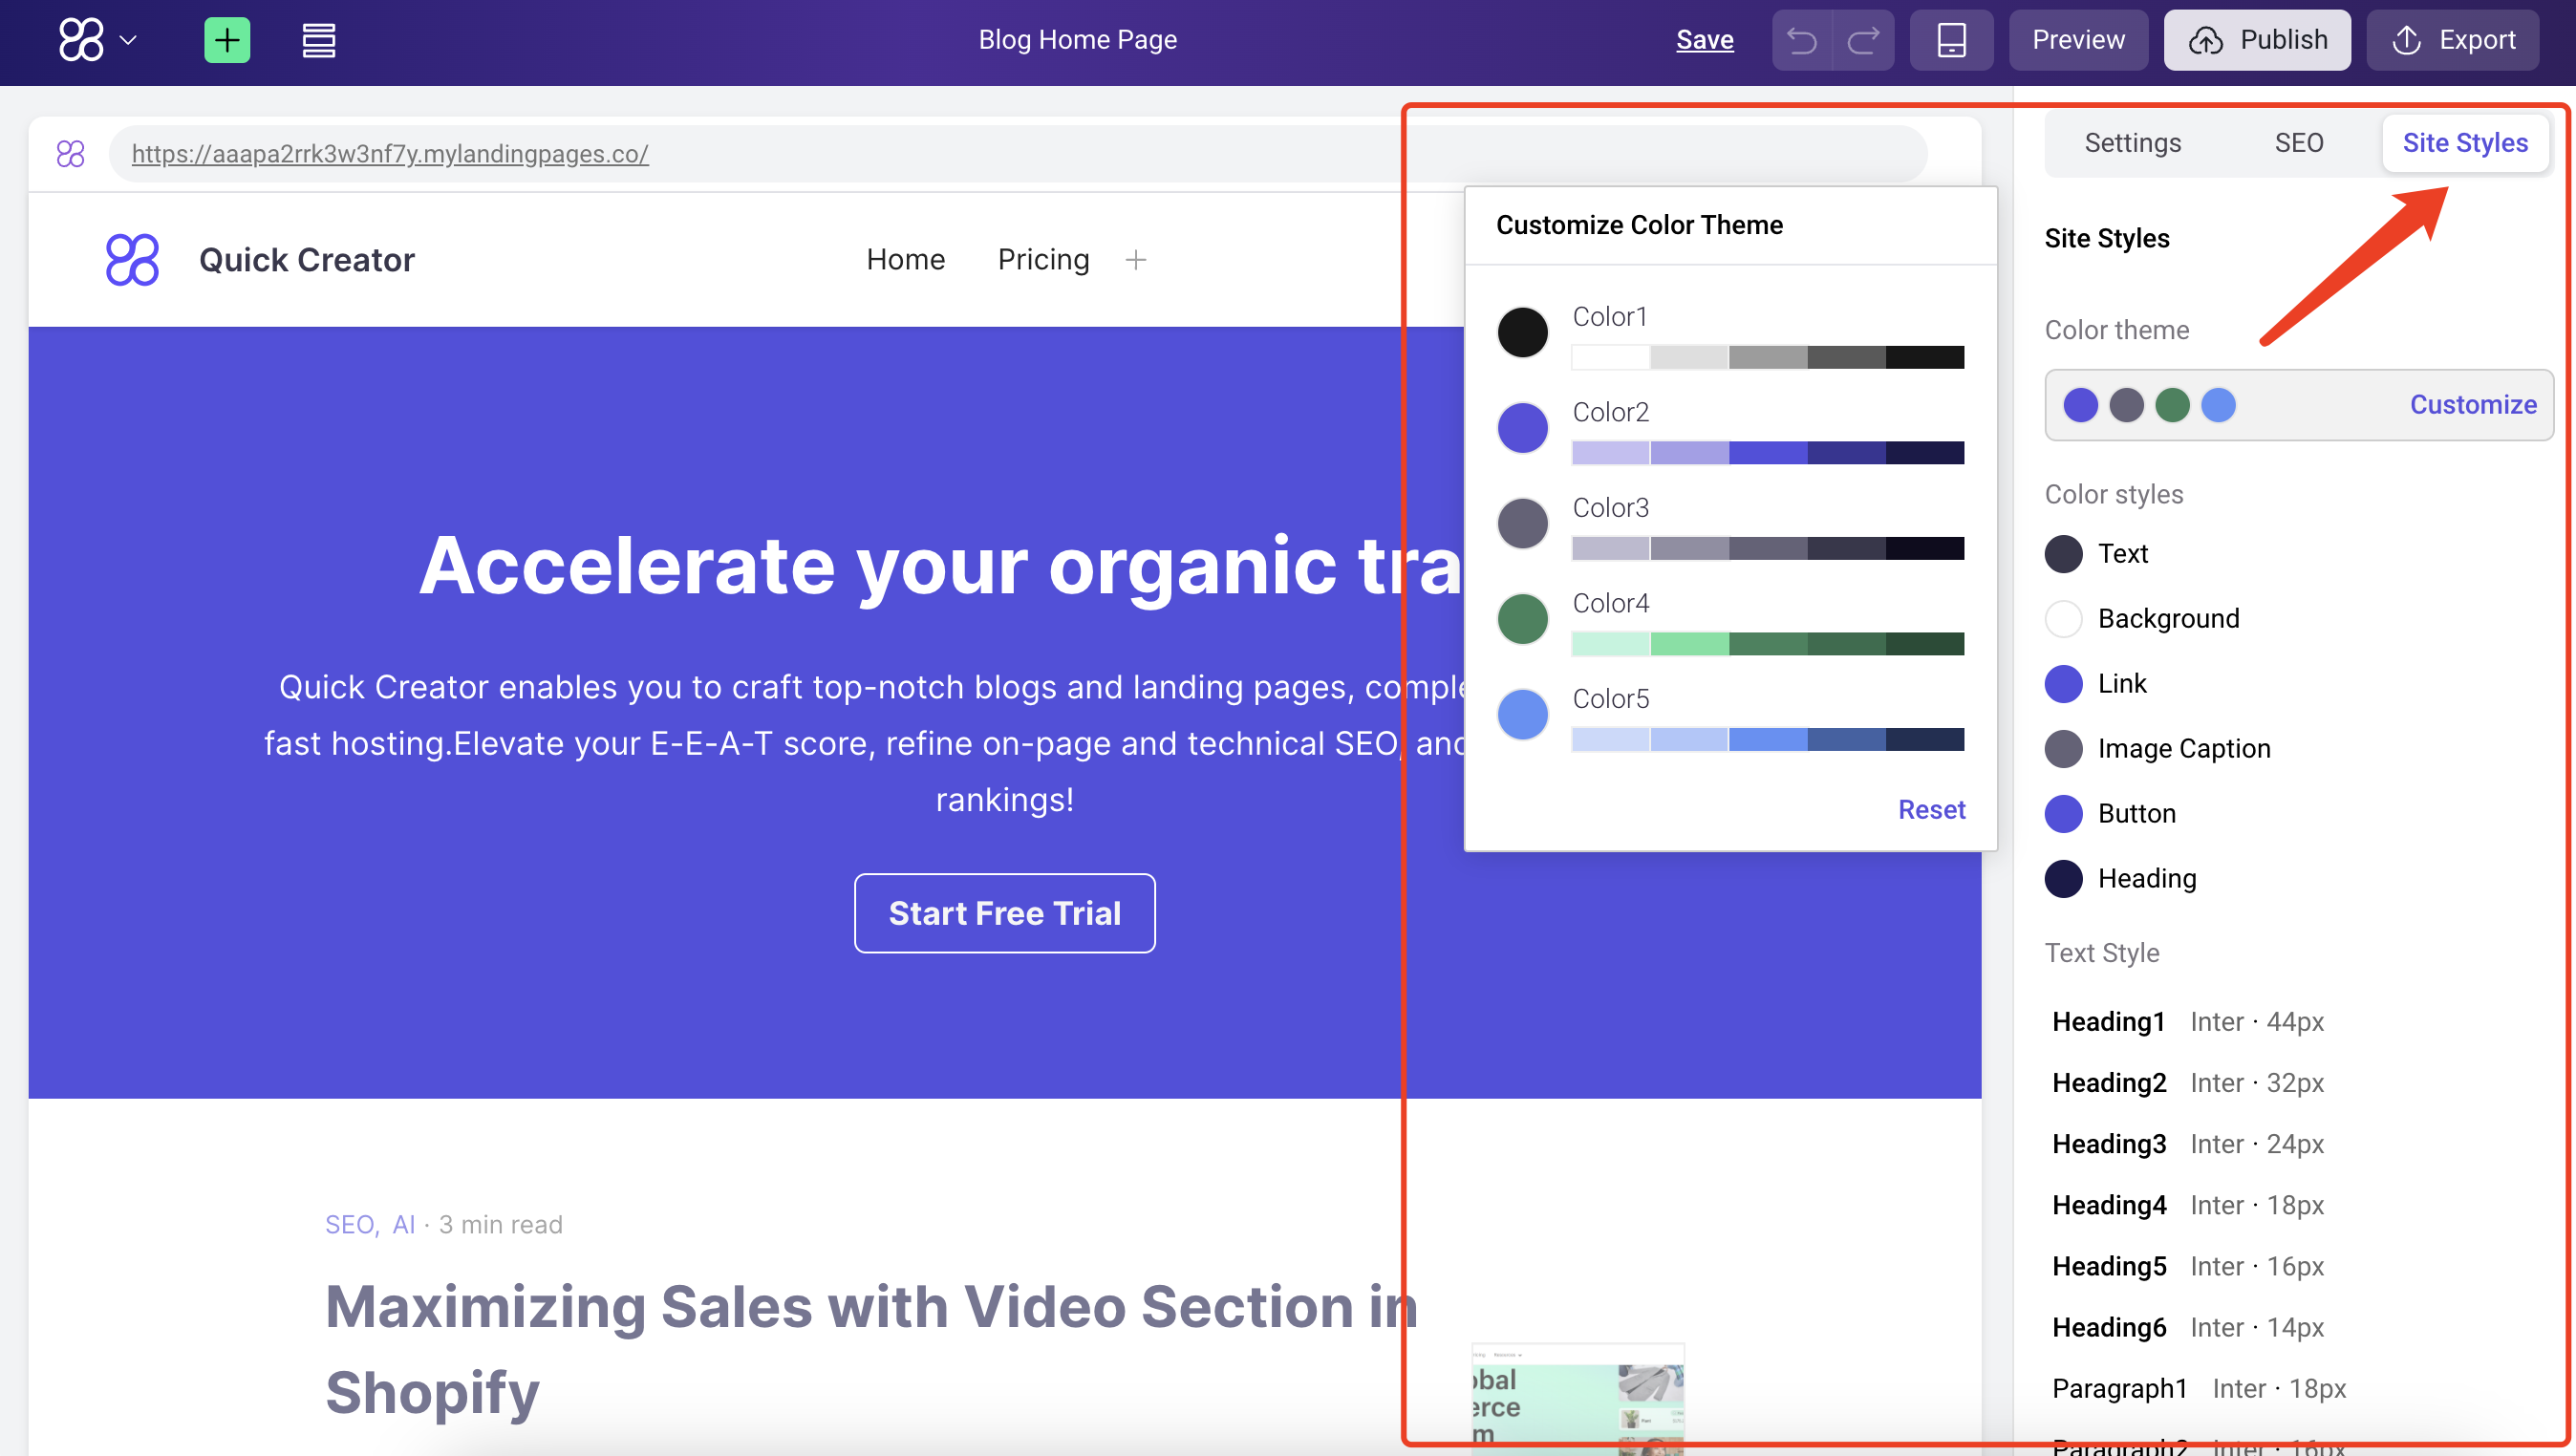
Blog Home Page
SEO Settings
You can optimize your pages for search engines by switching to the "SEO" tab within the right-side panel and setting the Title, Description, and keywords for that page.

Design your blog home
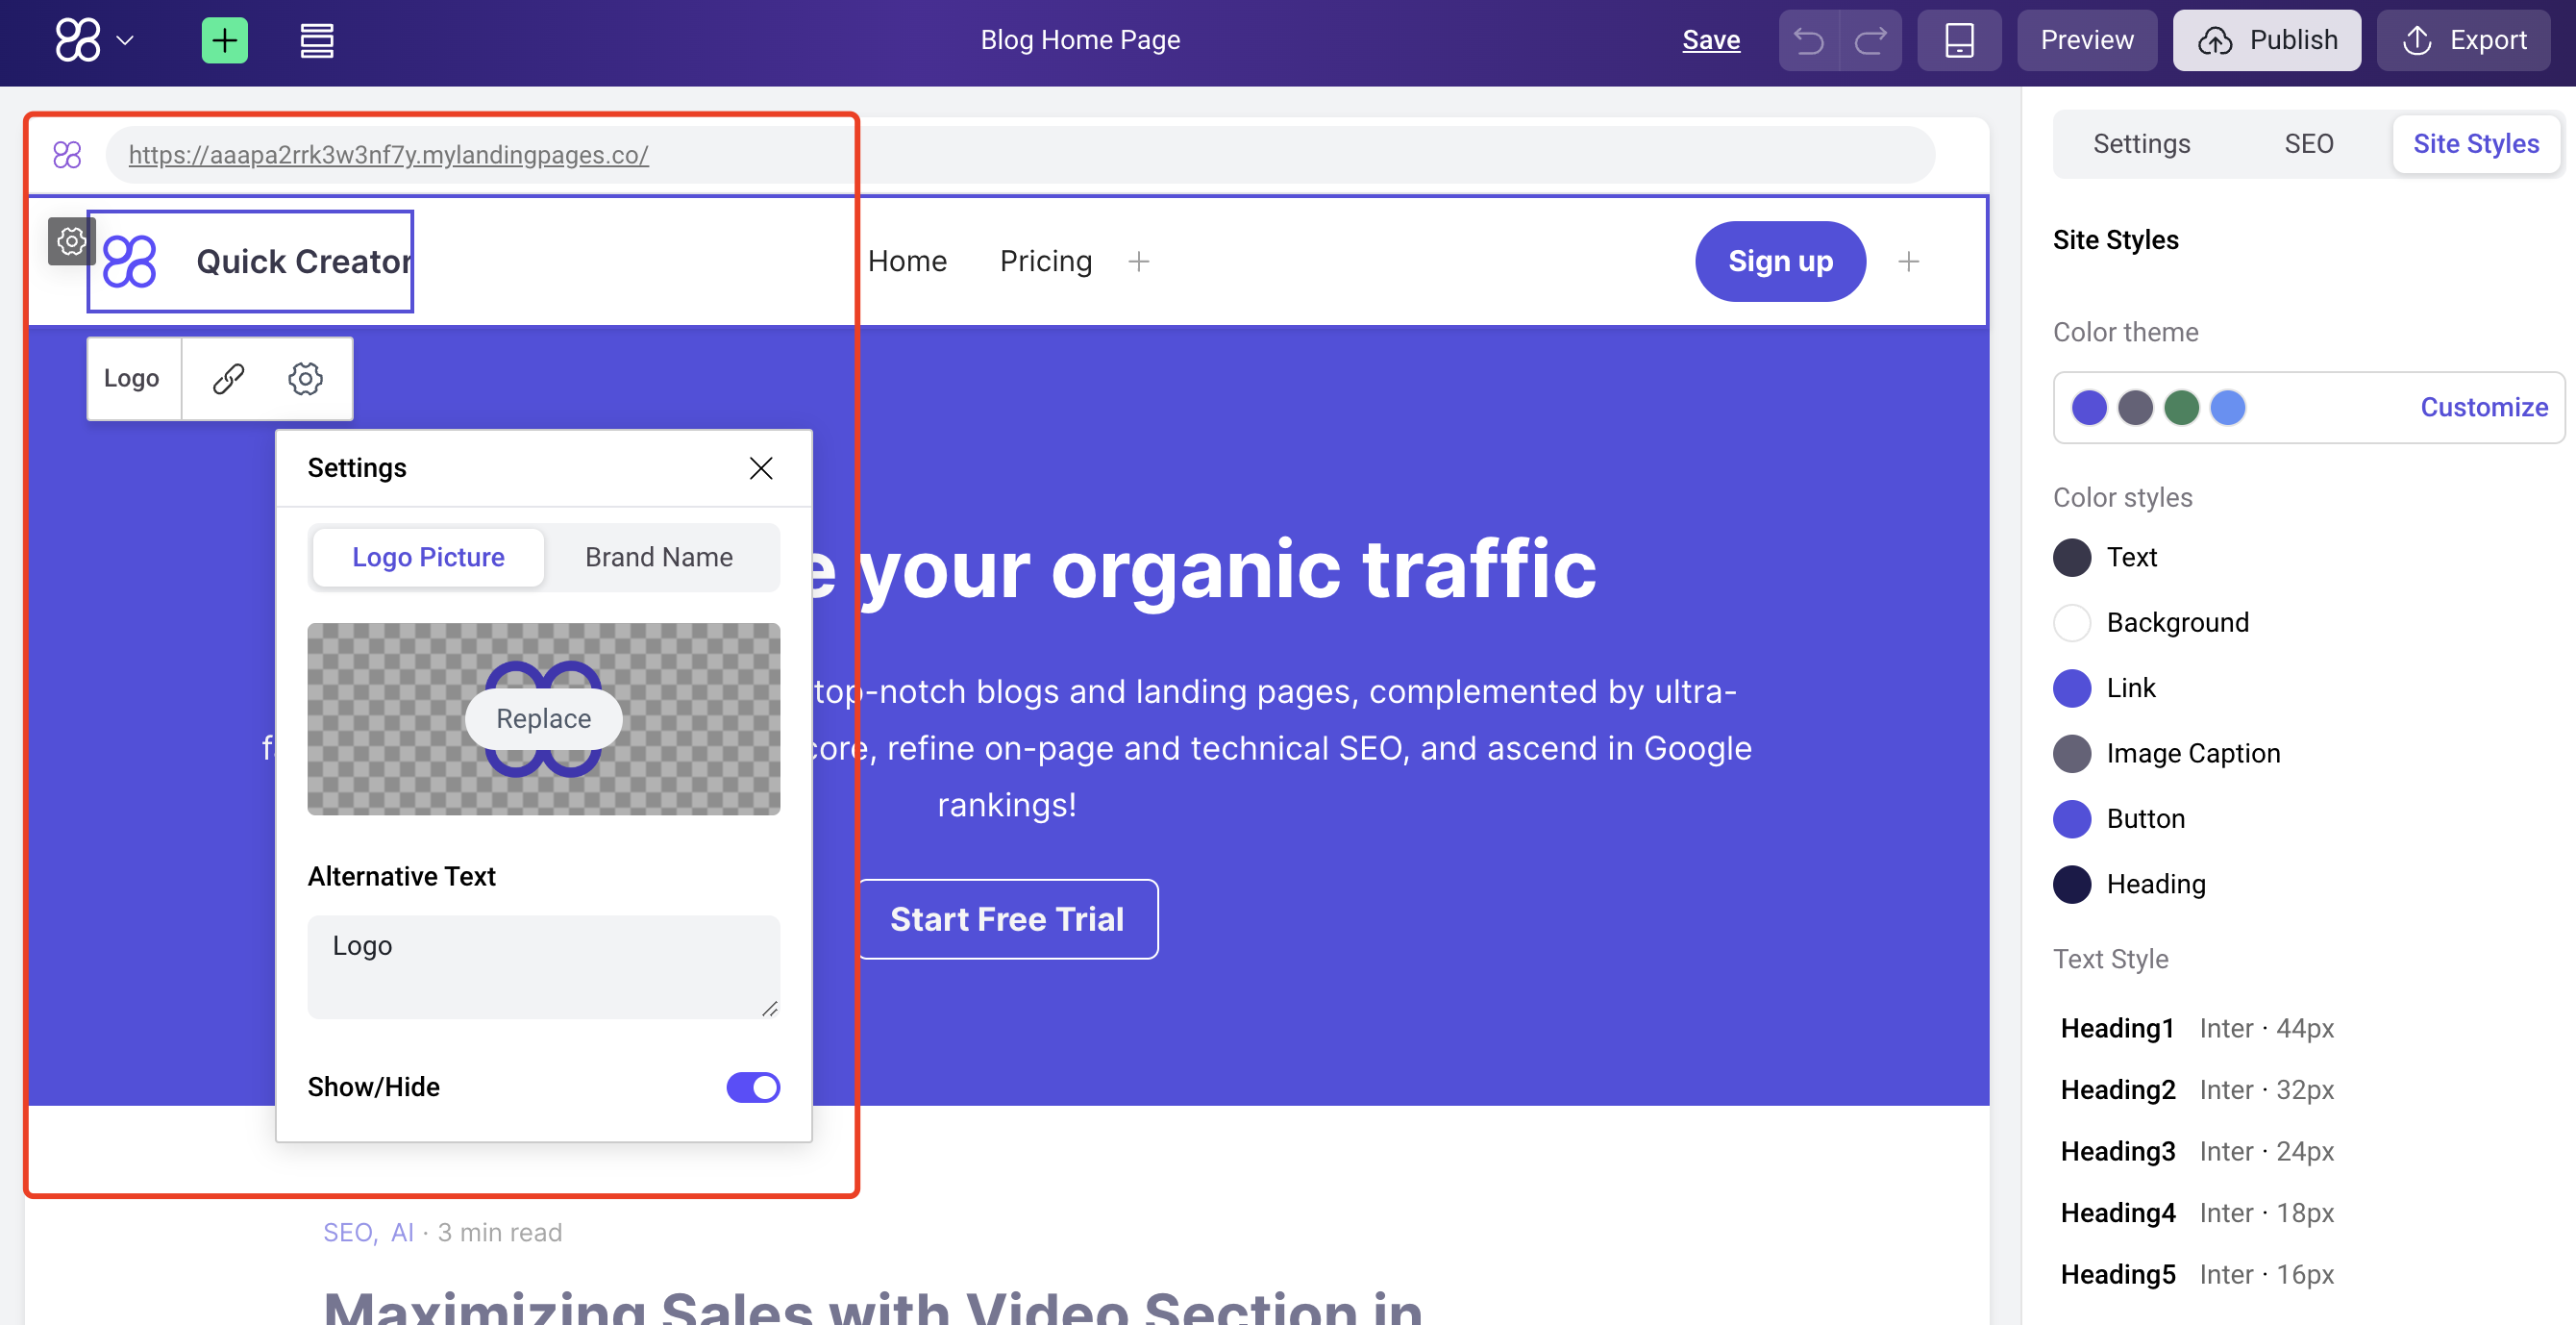
Set logo
Change menu navigation
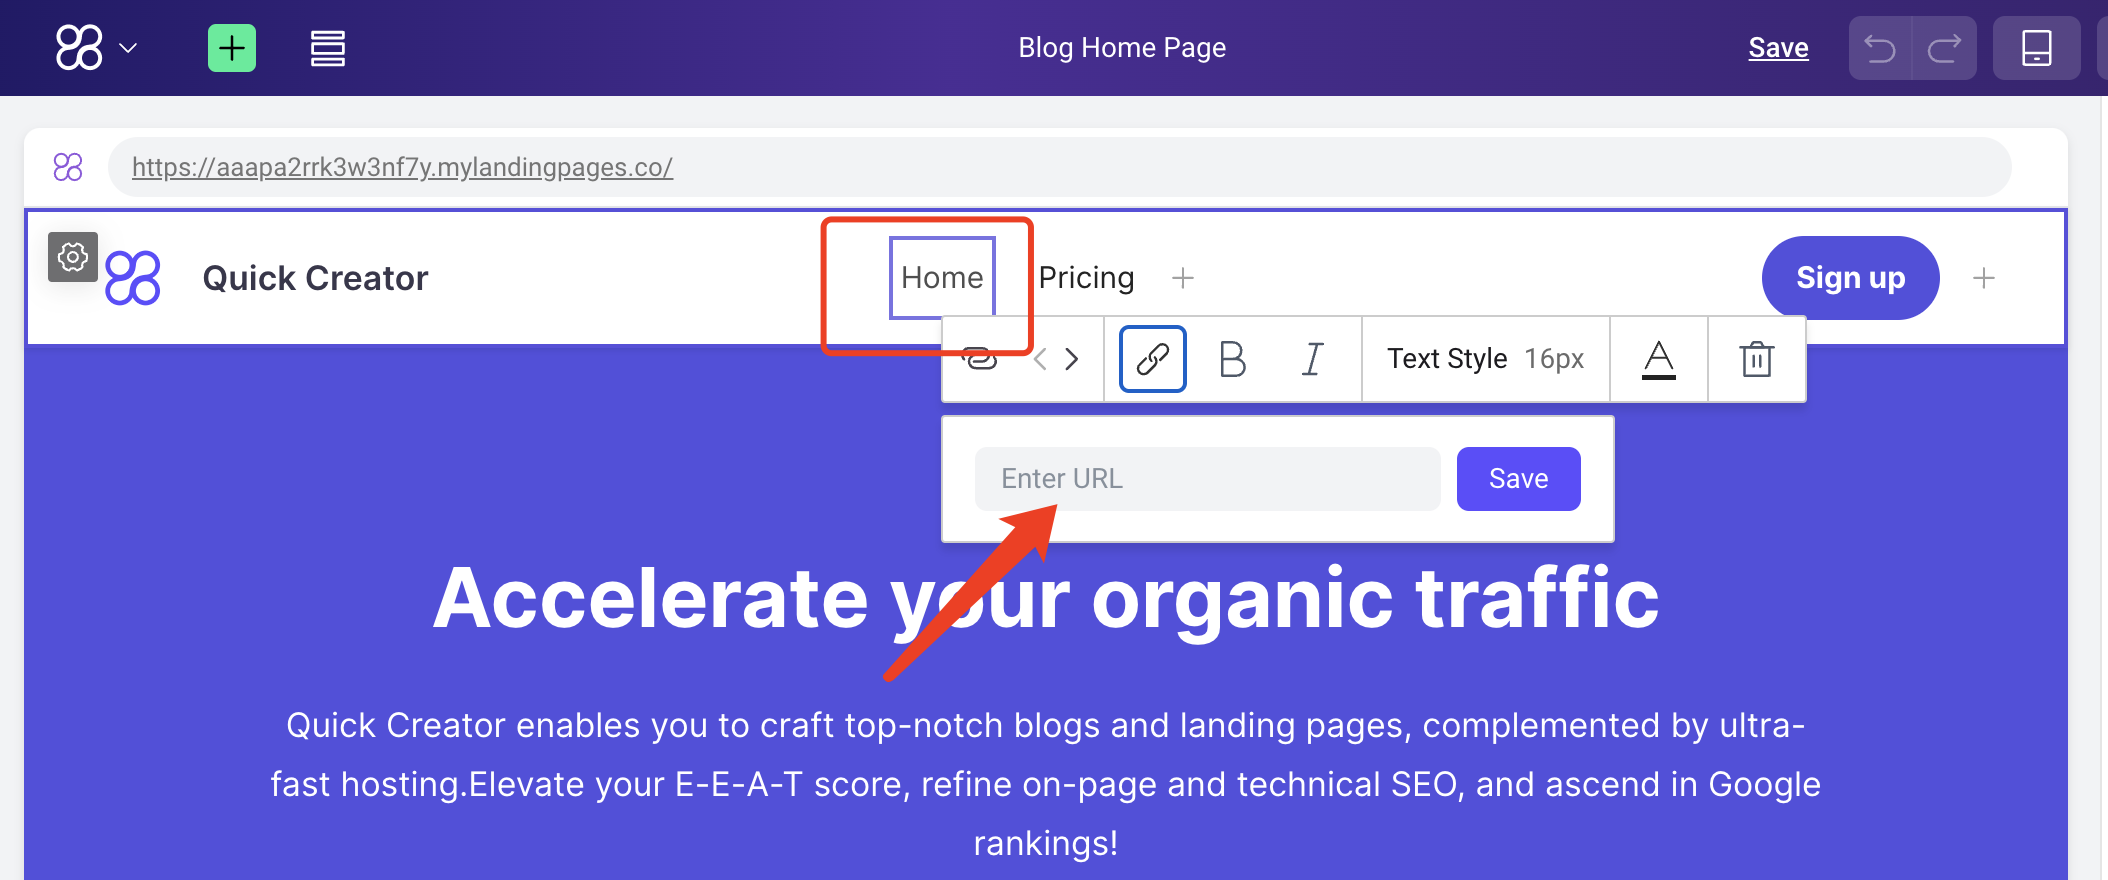
You can directly edit the text, style, or add a jump link by clicking on the navigation text.
Post List settings
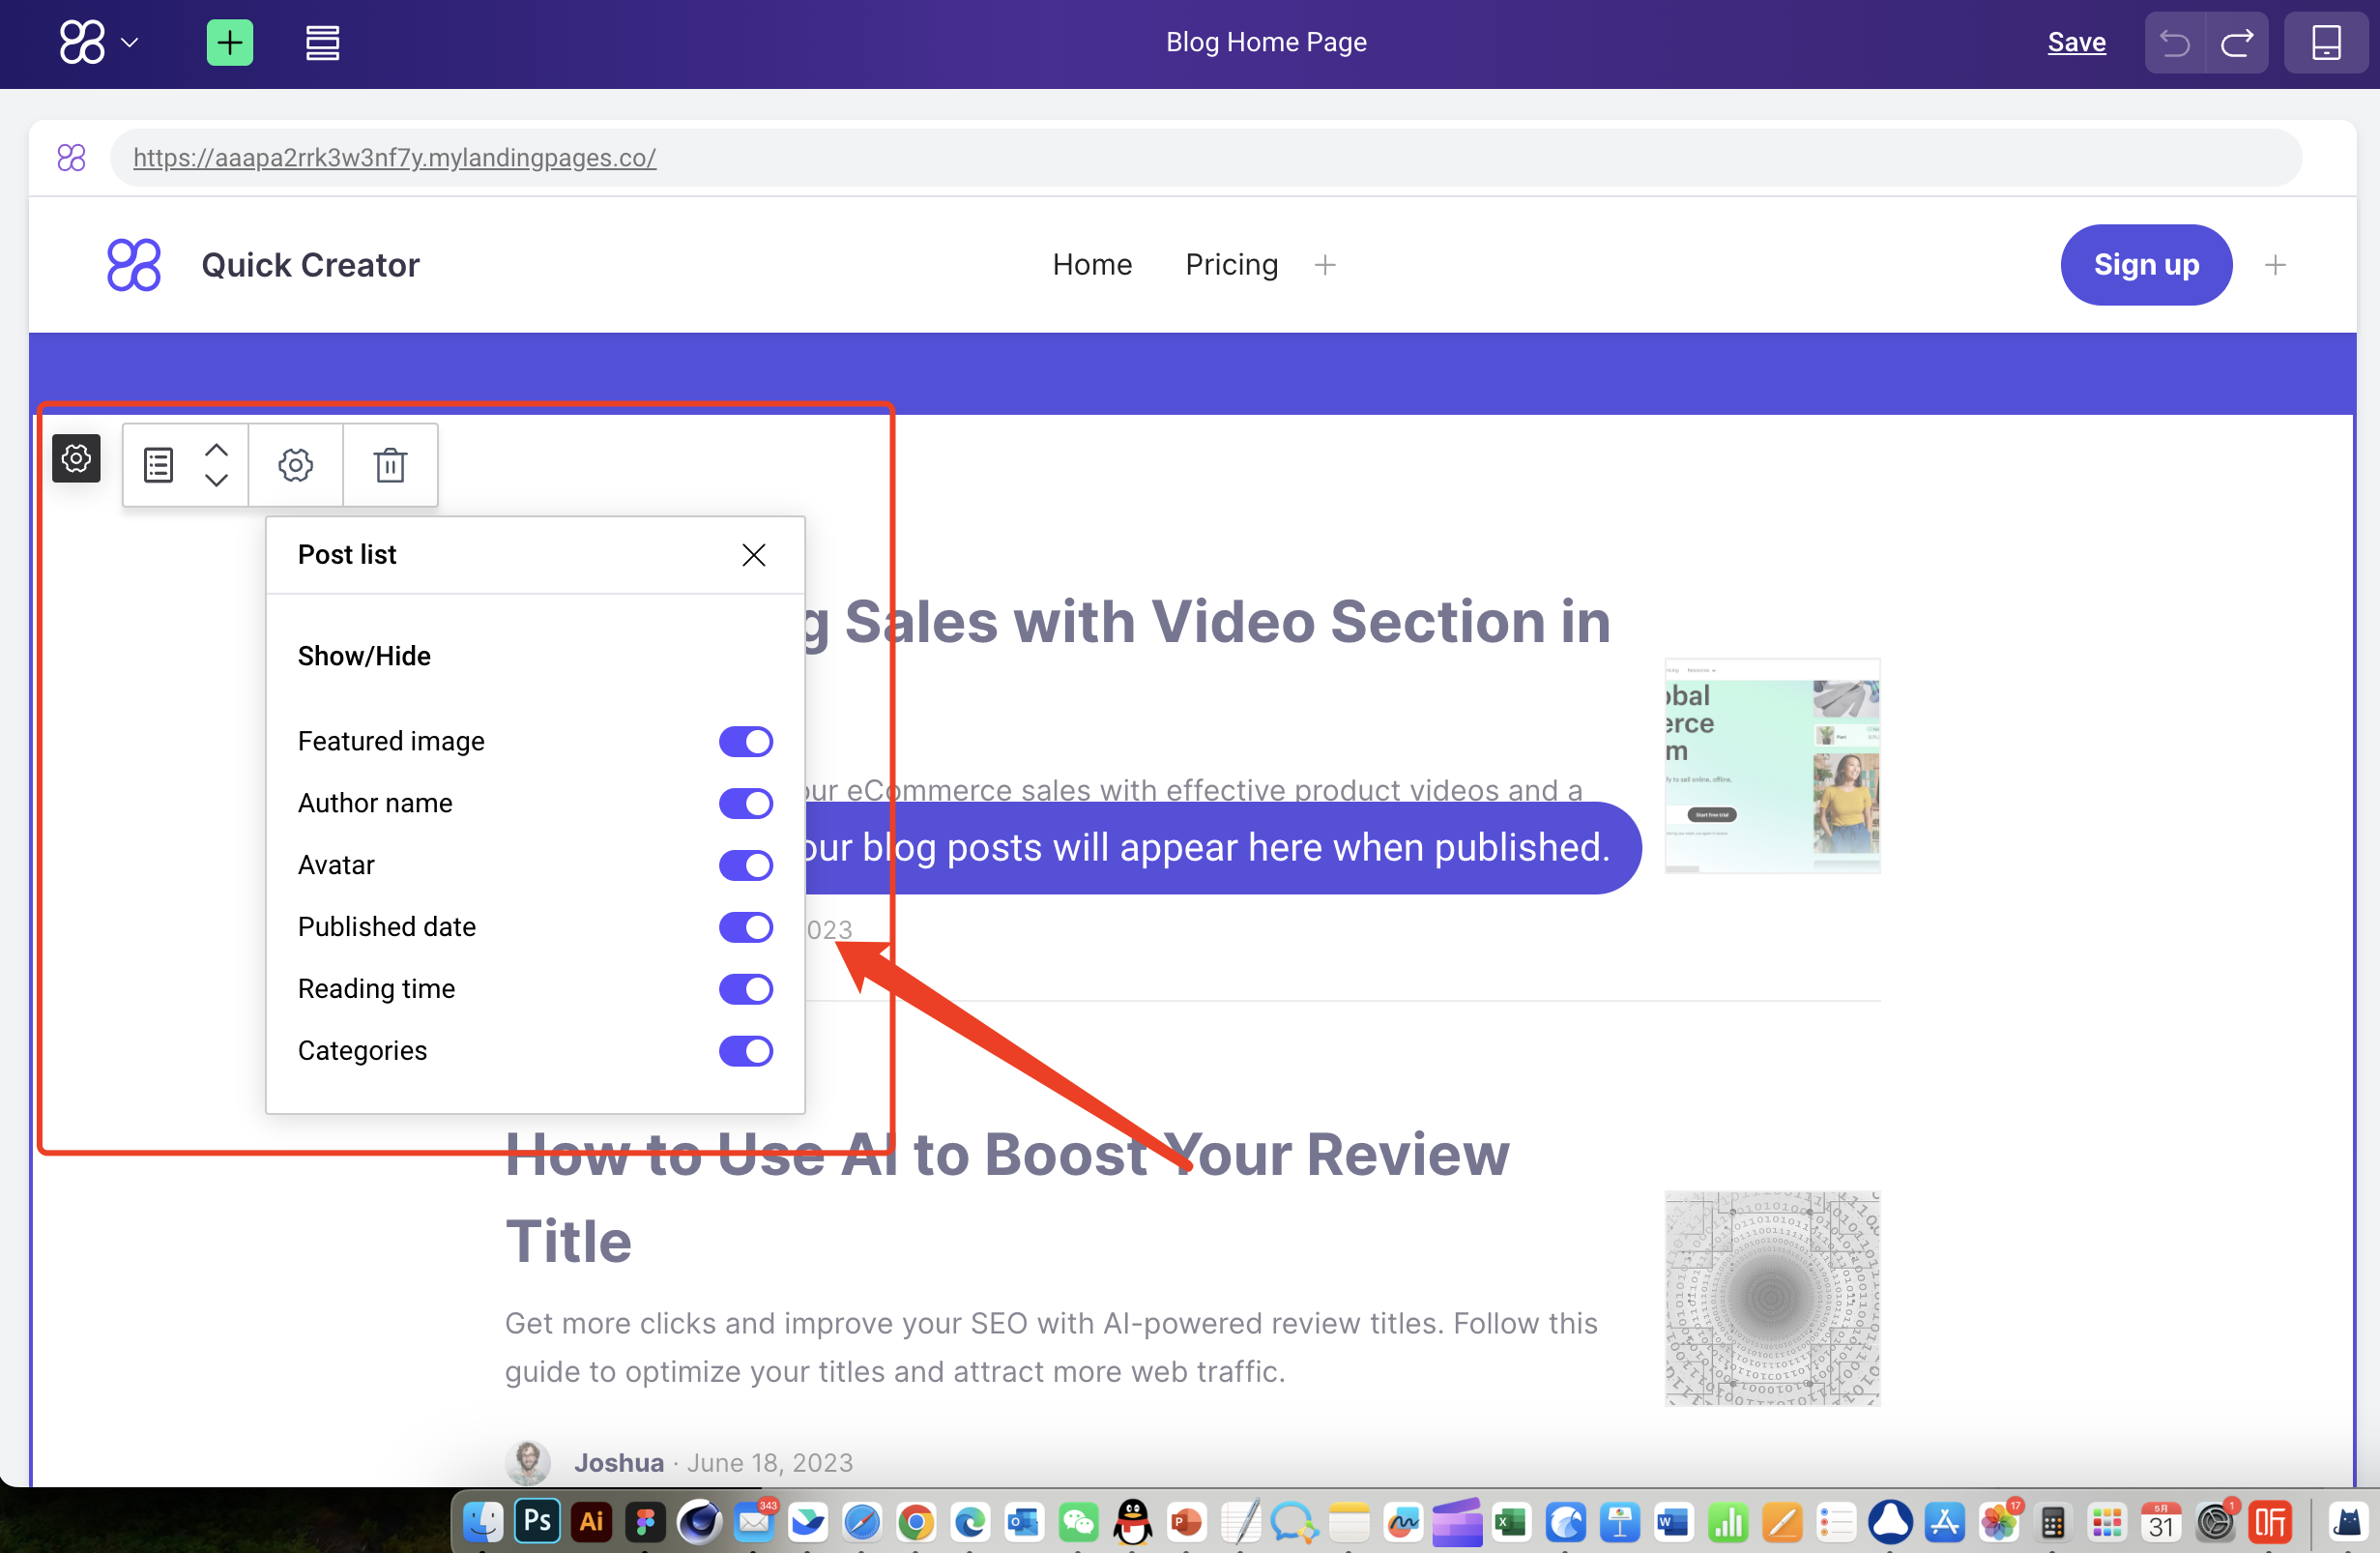
The Post List settings allow you to customize how your blog posts are displayed on your blog home page. You can control whether to show or hide elements like:
Featured Image: Display a featured image for each post.
Author Name: Show the author's name for each post.
Avatar: Include the author's profile picture.
Published Date: Display the date when the post was published.
Reading Time: Show the estimated reading time for each post.
Categories: Show the category the post belongs to.
Single Posts
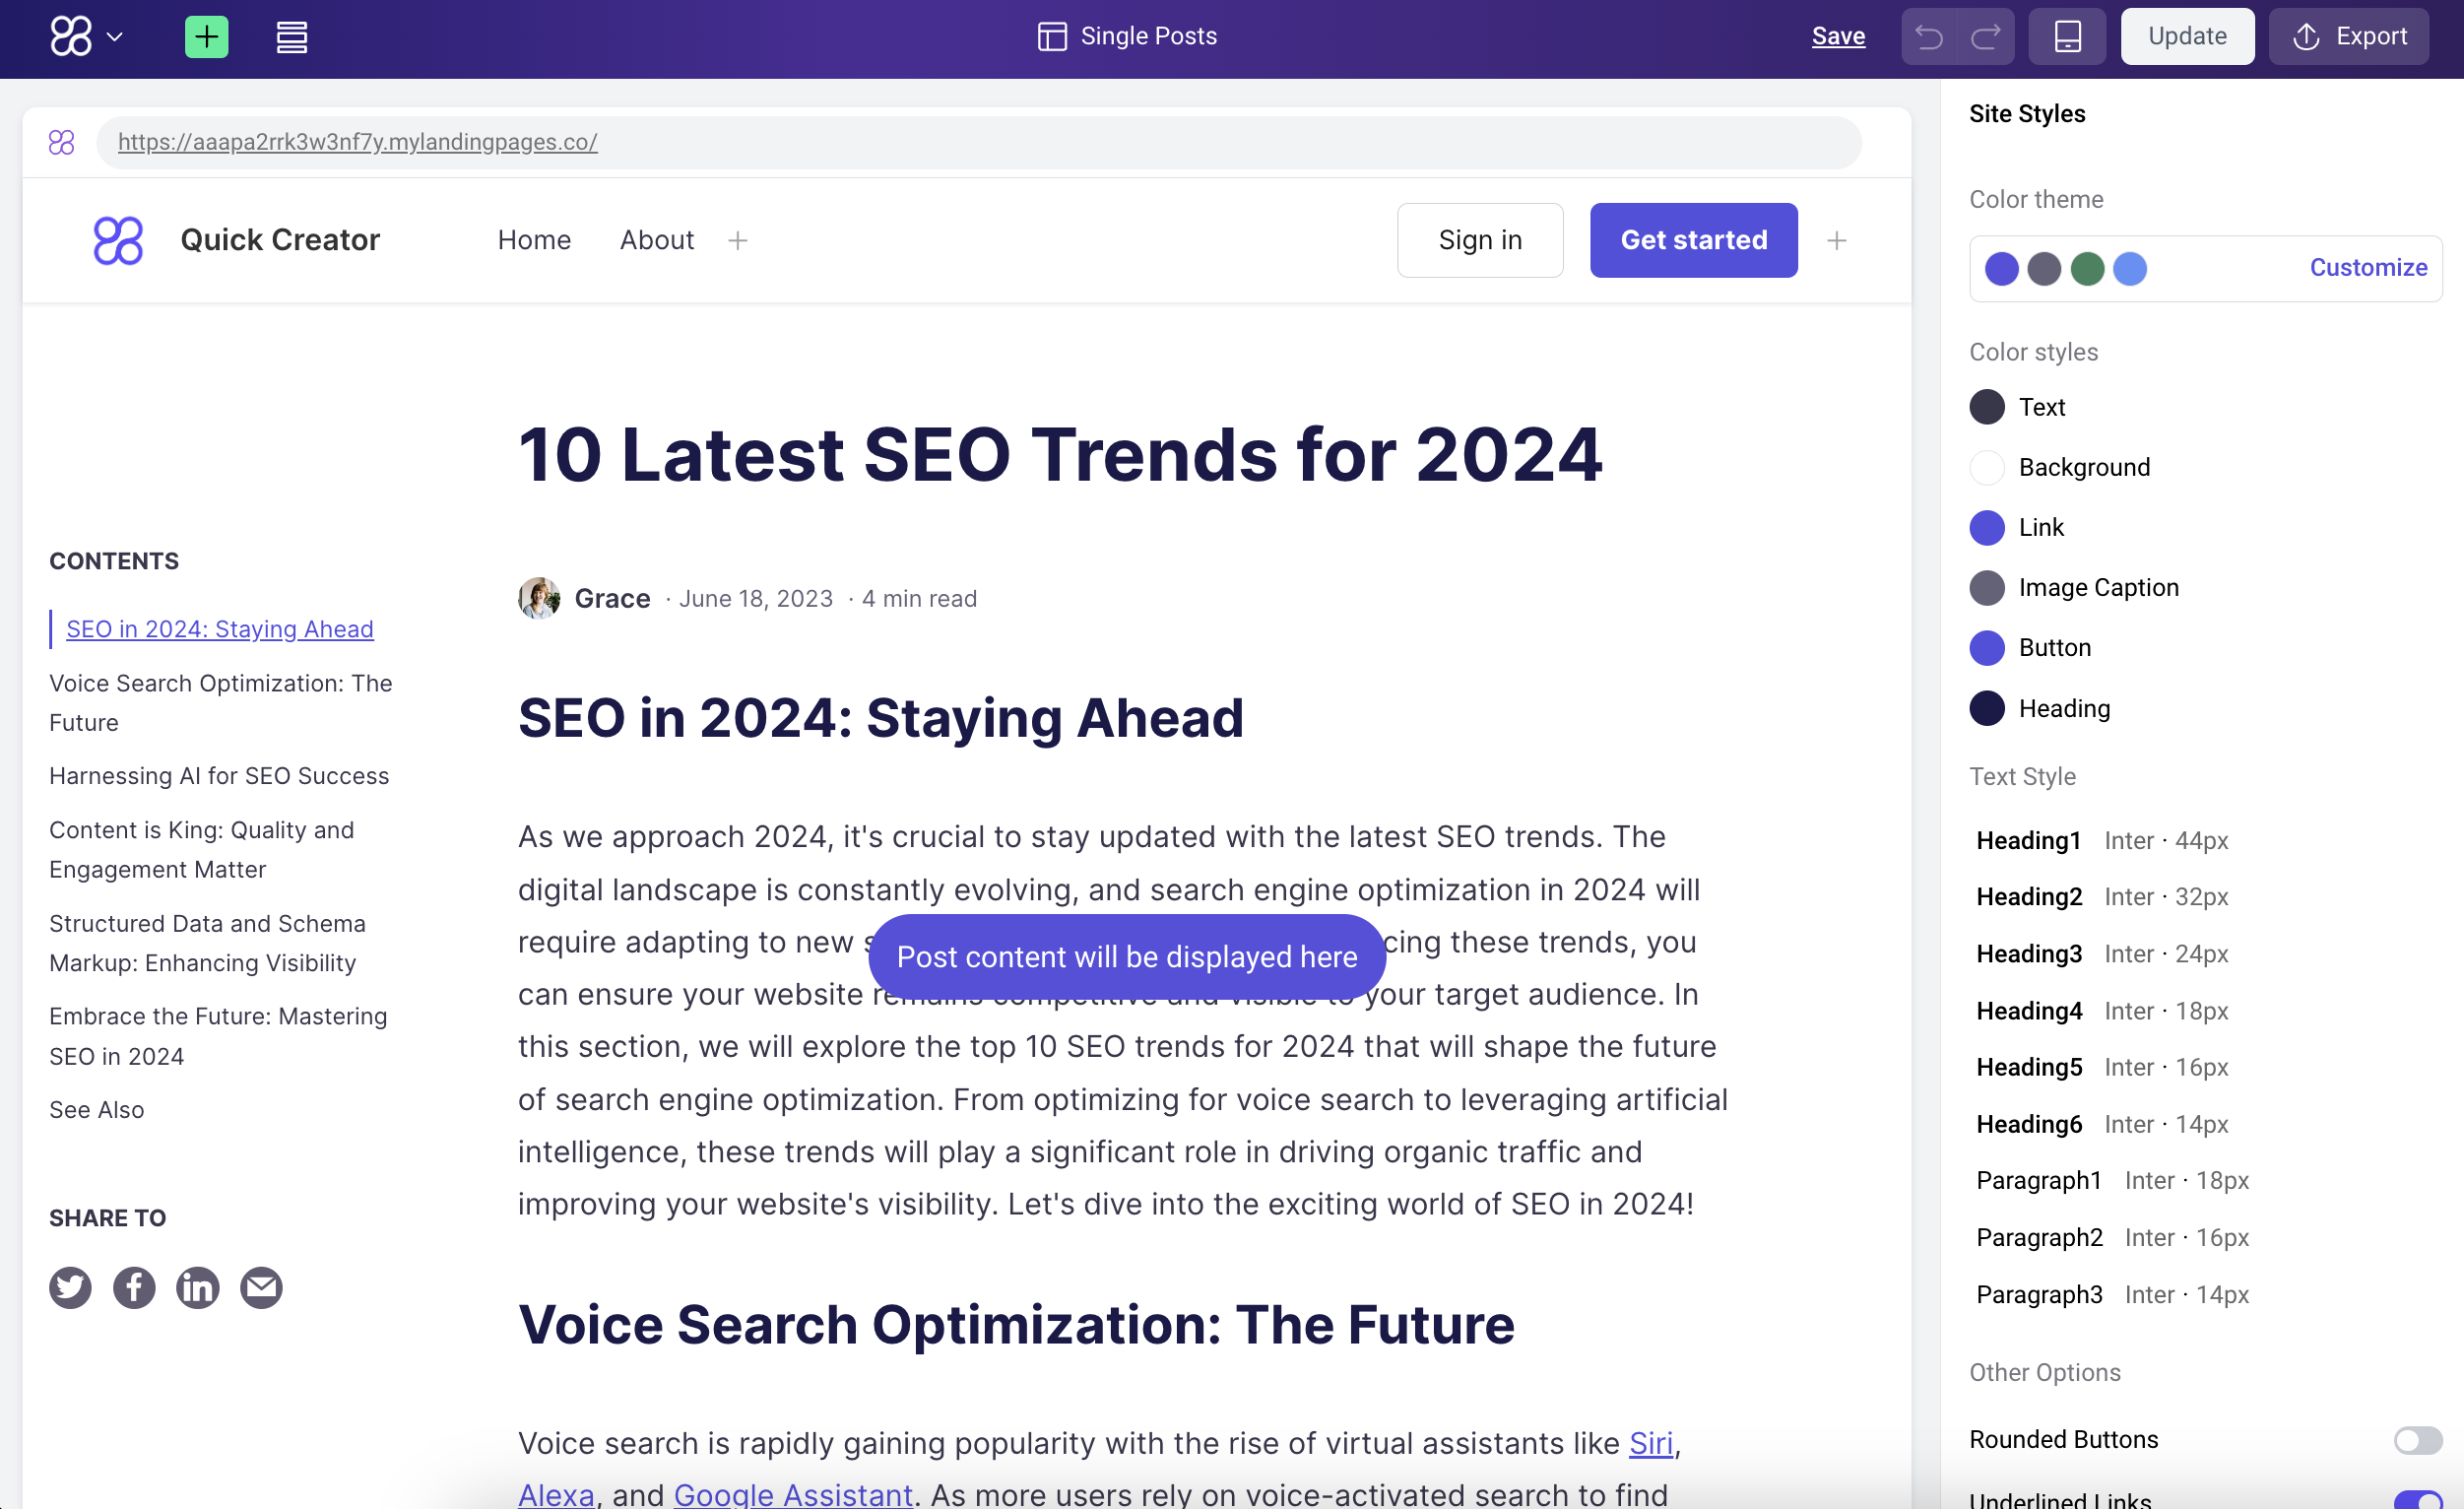
Your published posts will be displayed to the public using the Single Posts template style.
Post Layout Settings
The Post Layout Settings allow you to customize the appearance of your blog posts by controlling the visibility of various elements. You can choose to show or hide:
Left Sidebar:
-
Show left sidebar: Include a sidebar on the left side of the post to display additional content, such as a table of contents or social sharing buttons.
-
Table of Contents: Generate a table of contents for longer posts, making it easier for readers to navigate.
-
Share To: Include social sharing buttons for readers to easily share the post on different platforms.
Right Sidebar:
-
Show right sidebar: Include a sidebar on the right side of the post to display additional content.
-
CTA: Display a call-to-action (CTA) button to encourage reader engagement.
Post Content Settings
The Post Content Settings allow you to control which elements are displayed within the main content area of your blog post:
Show/Hide:
Post title: Show or hide the post title.
Author name: Show or hide the author's name.
Avatar: Show or hide the author's profile picture.
Published date: Show or hide the date the post was published.
Reading time: Show or hide the estimated reading time for the post.
Share To Settings
The Share To Settings allow you to customize the social sharing buttons that appear at the end of your blog posts: Icon Visibility:
Twitter: Show or hide the Twitter icon.
Facebook: Show or hide the Facebook icon.
LinkedIn: Show or hide the LinkedIn icon.
Email: Show or hide the email icon.
Icon Style: You can edit the style of the icons to match your blog's design.
Category Page
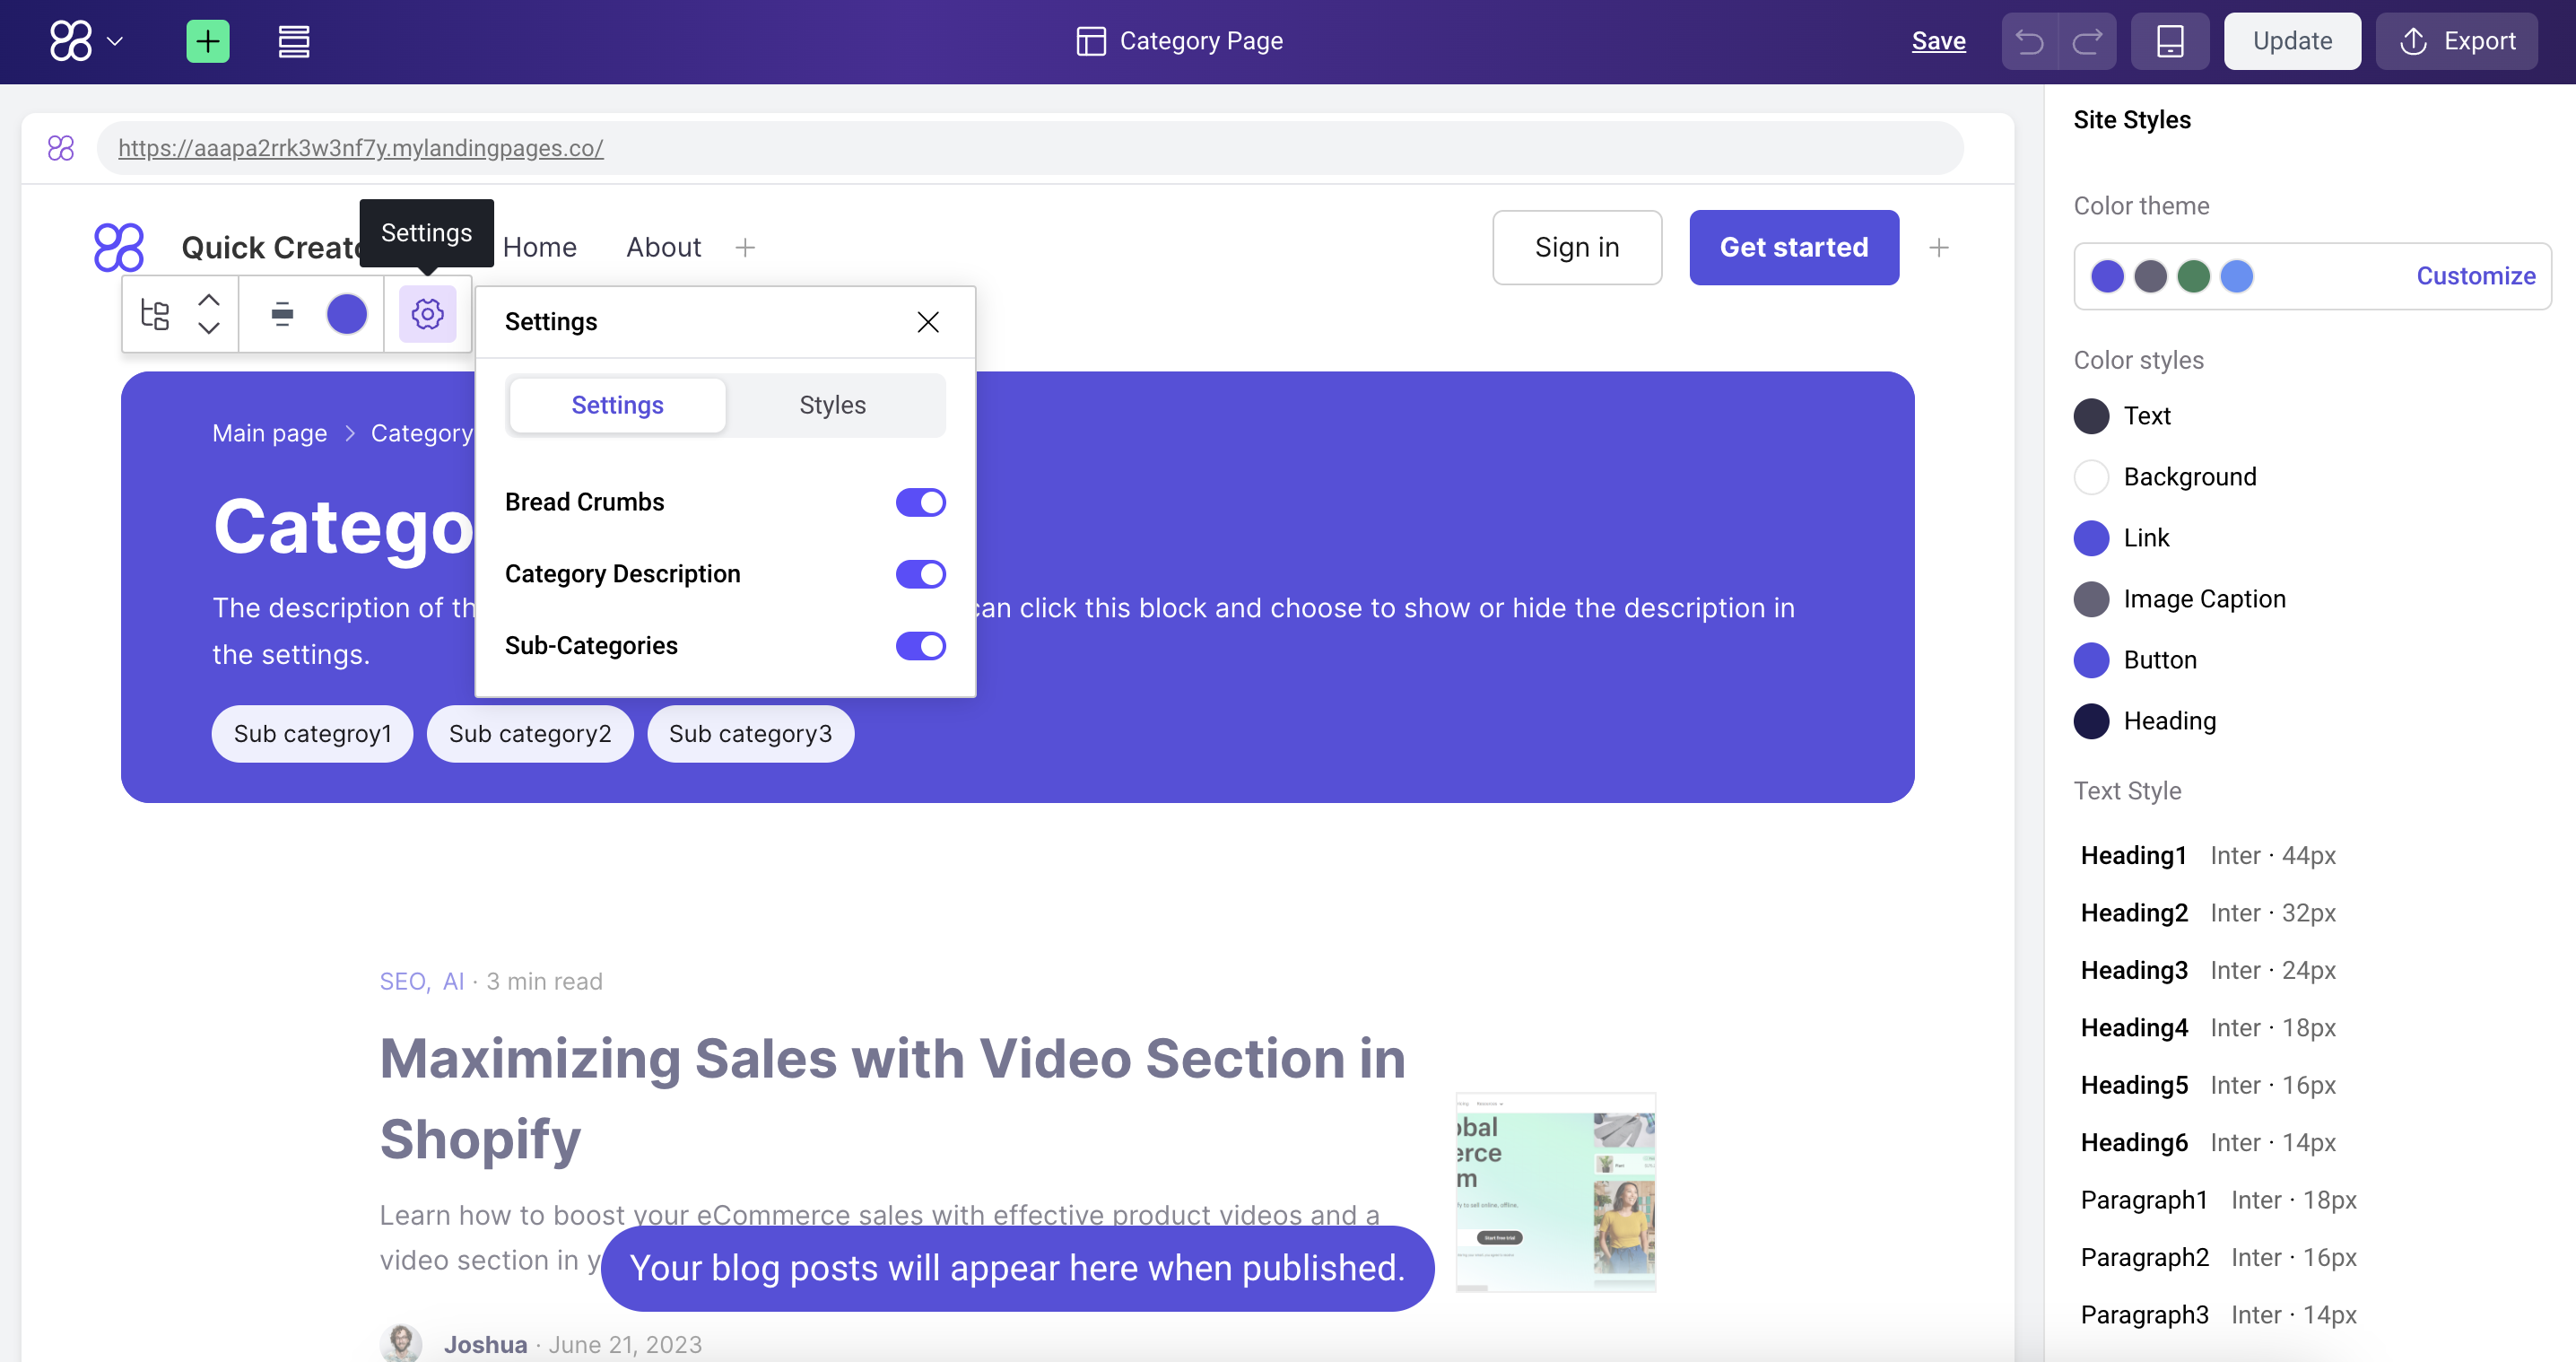
The Category Page feature allows you to customize the design of your blog's category pages to enhance user experience. On this page, you can set category navigation and styles to create a visual look that aligns with your overall blog style.
Category Navigation Settings
This setting controls whether the following elements are displayed on your category pages:
-
Bread Crumbs: Breadcrumb navigation helps users understand their current location.
-
Category Description: The category description provides additional information about the category.
-
Sub-Categories: Subcategories display all subcategories within the selected category.
Styles
This setting allows you to edit the styles of elements on your category pages, including:
Style: Choose between the default style or a light style.
Default: Use the default style.
Light: Use the light style.
Padding: Set the inner padding of elements.
Margin: Set the outer margin of elements.
Border: Set the border of elements.
Radius: Set the rounded corners of elements.