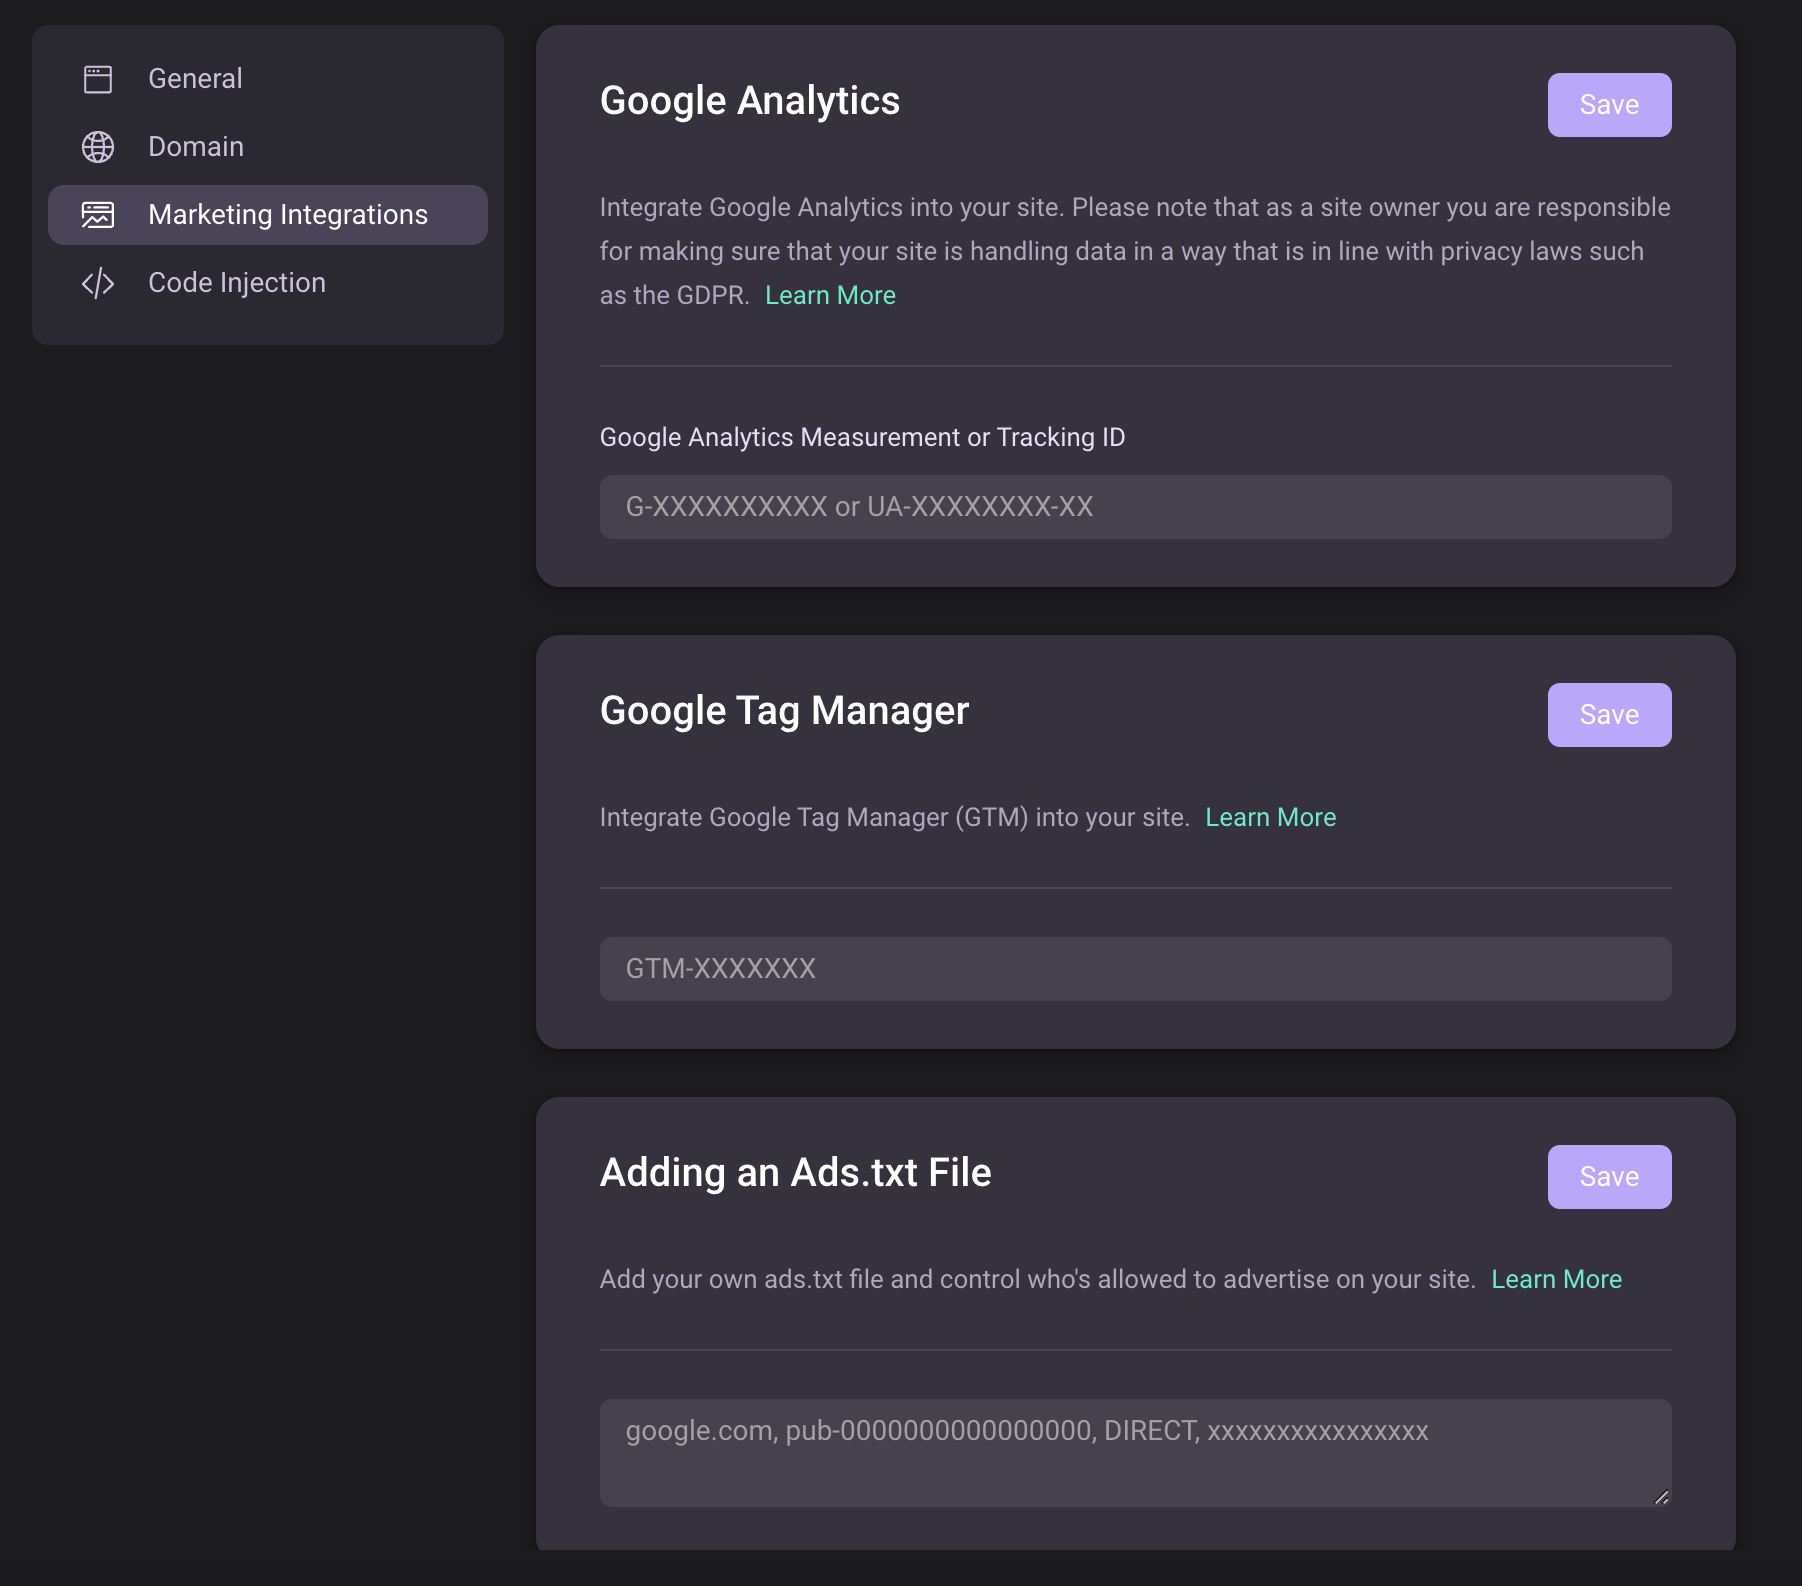
营销整合
QuickCreator 支持简便地整合各种营销工具,如 GA 和 GTM。当您需要跟踪和分析用户行为时,您可以通过“营销整合”进行配置。
如何集成 GA
获取 Measurement ID
-
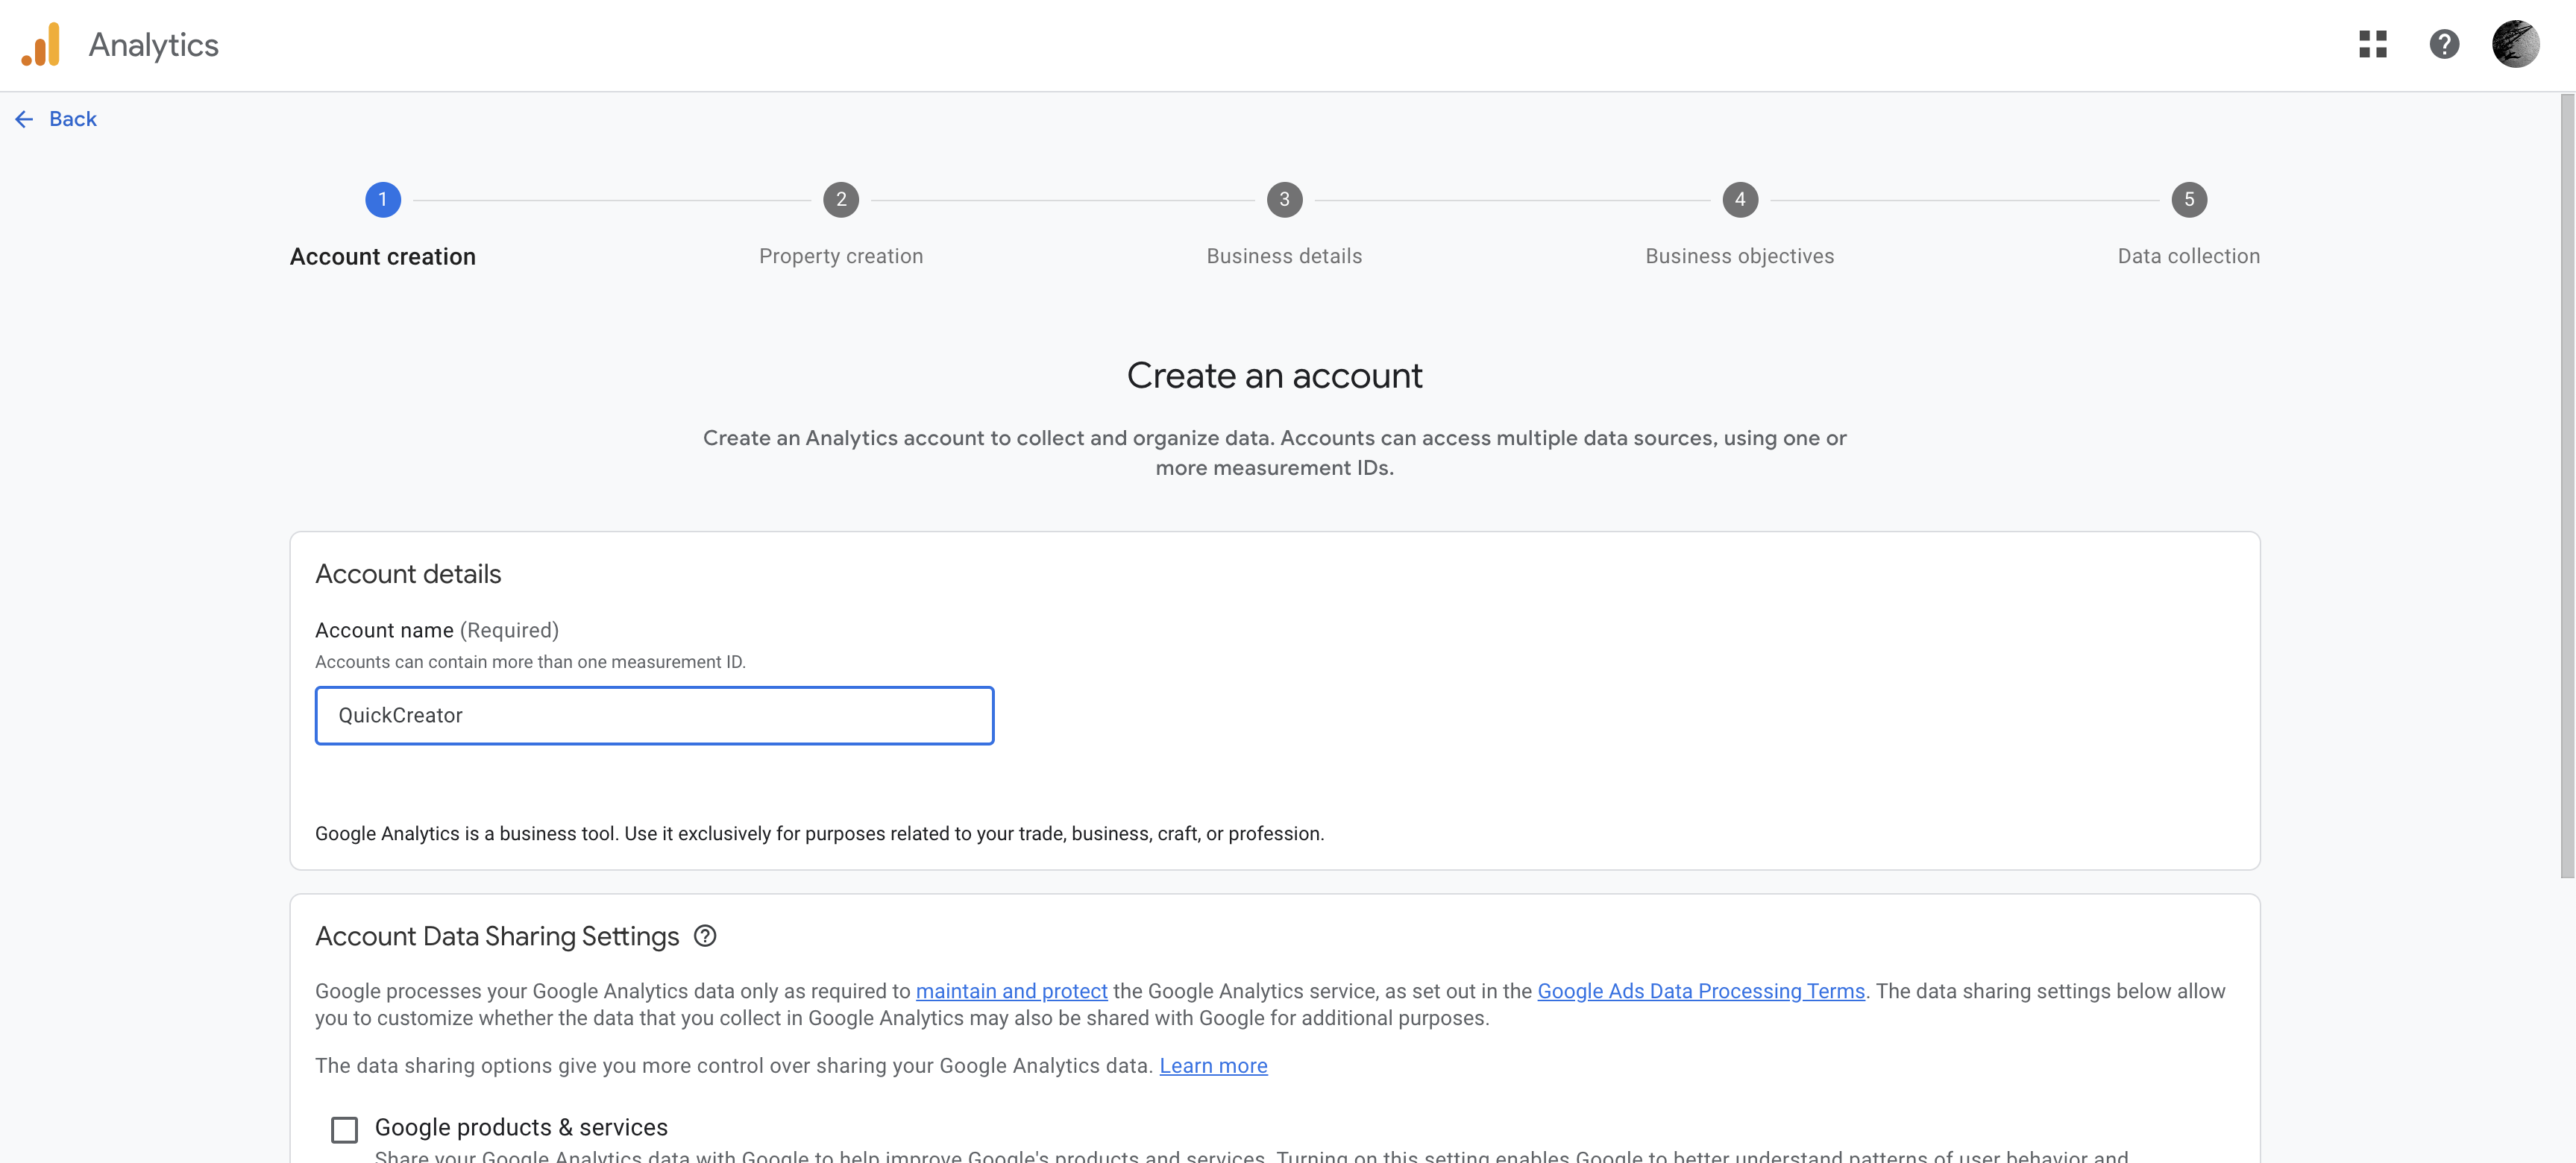
创建一个账户
输入您的账户名称,点击“下一步”。
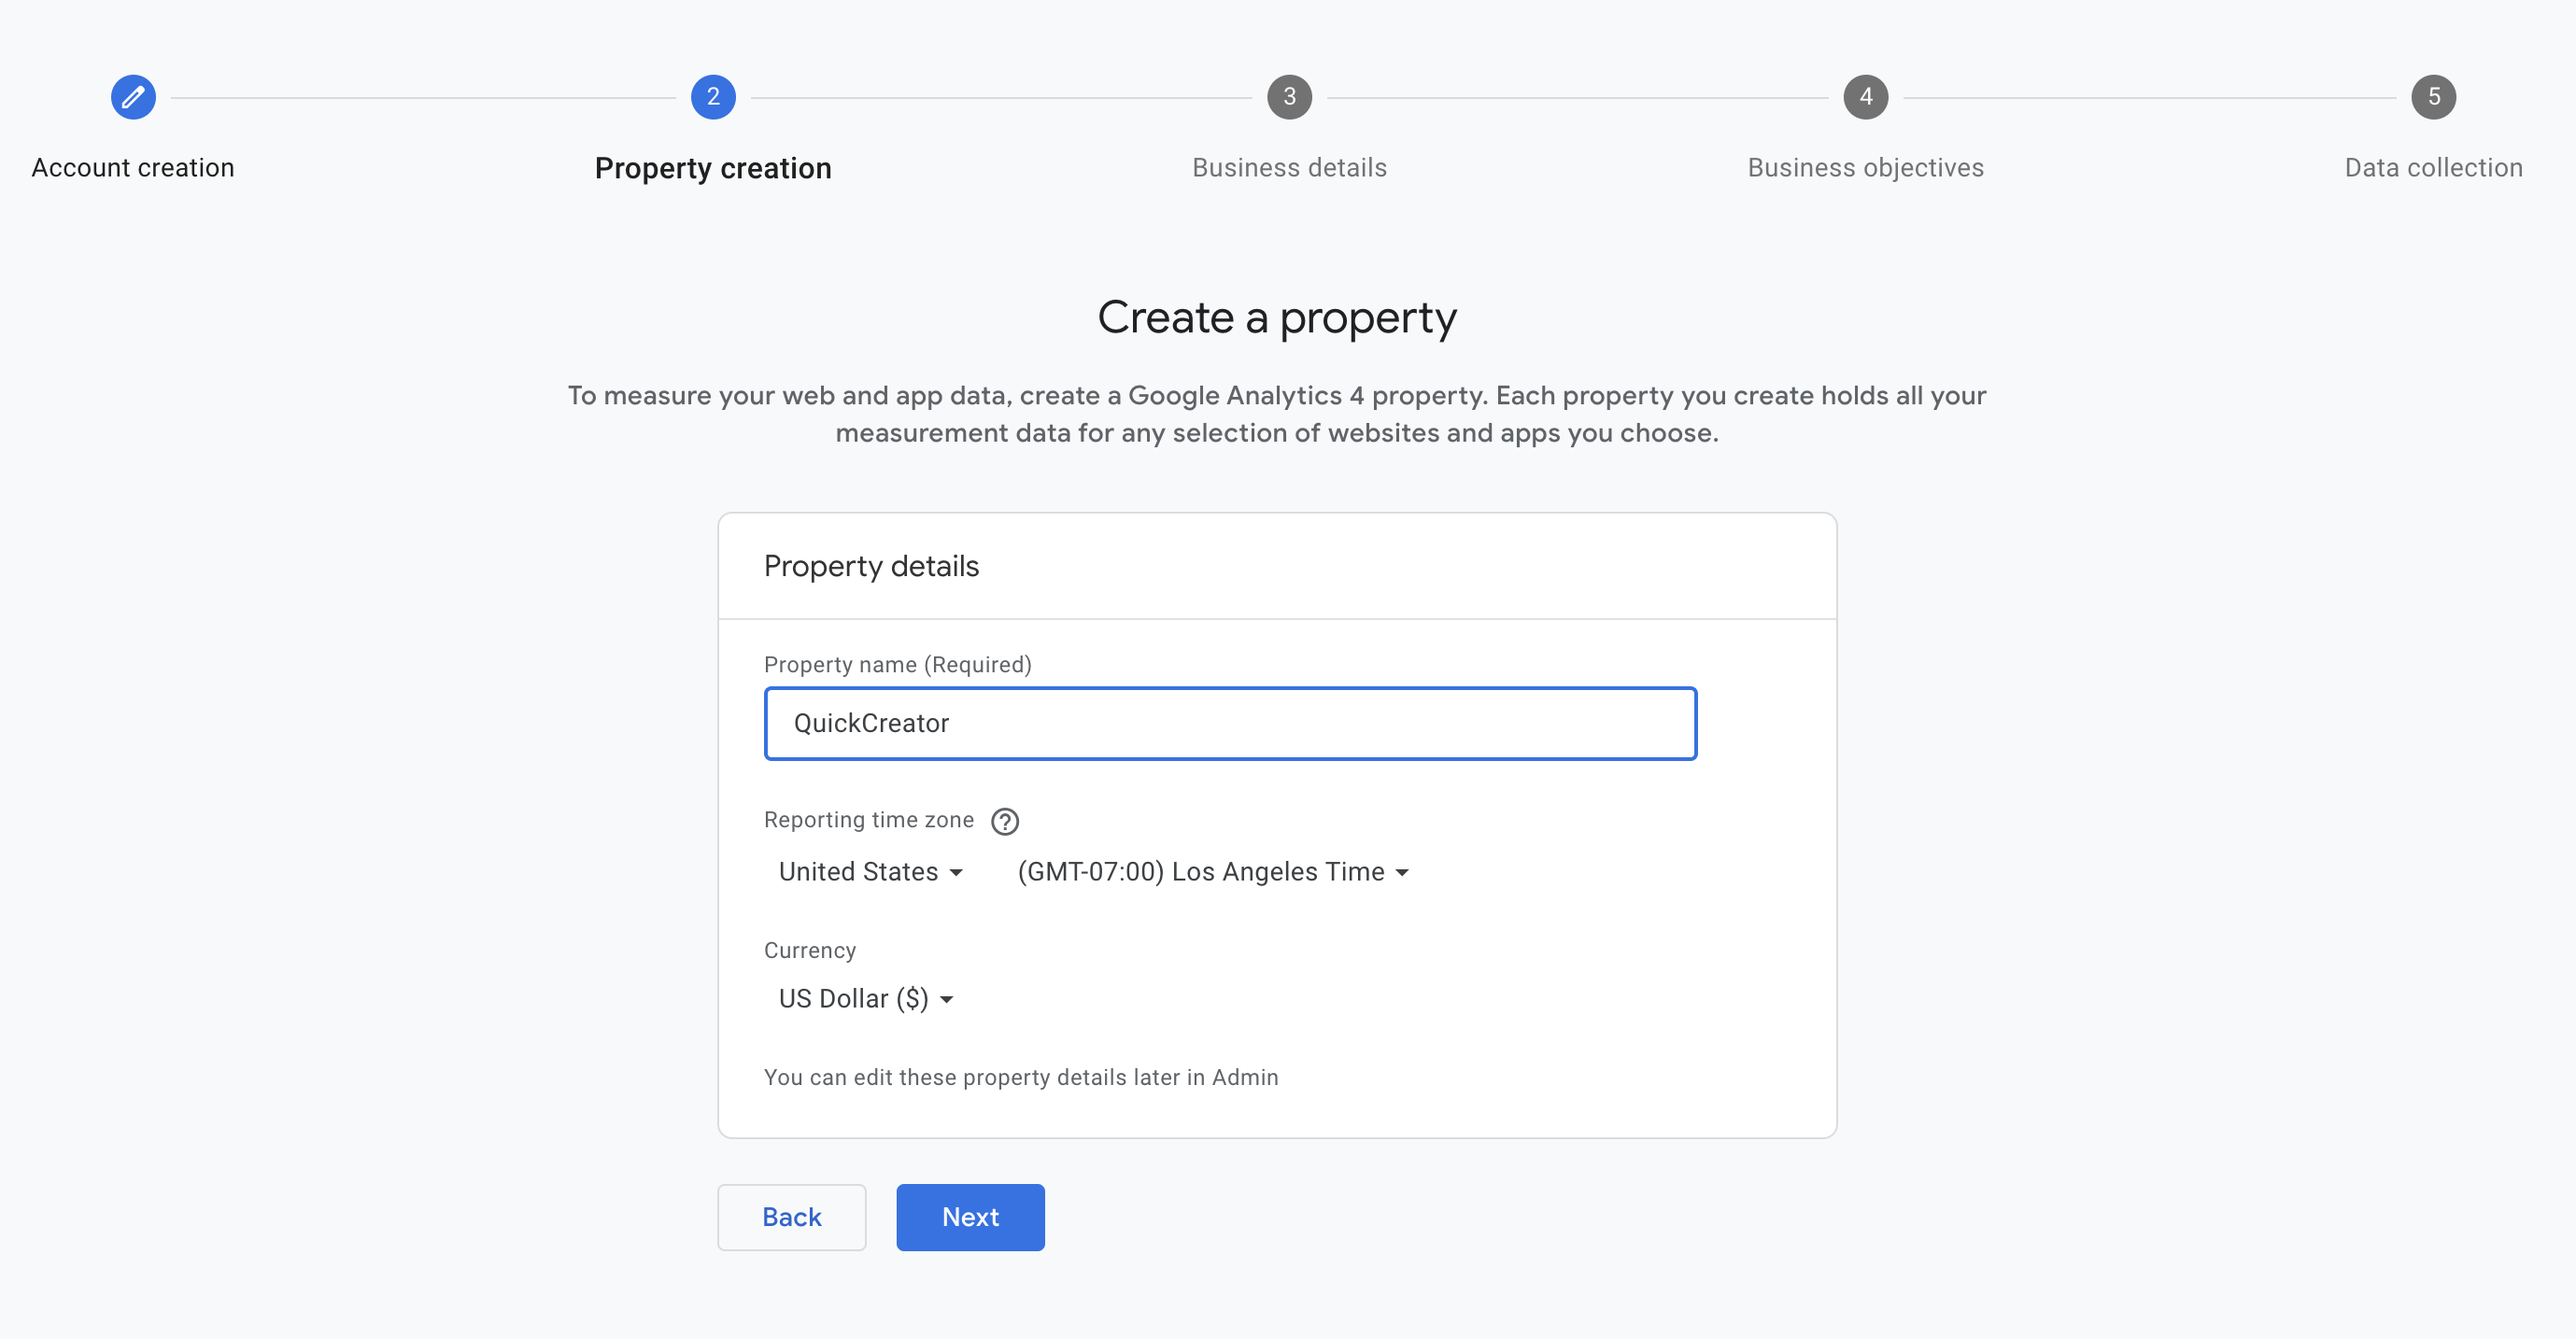
- 创建属性
输入属性名称,设置时区和货币,然后点击“下一步”。
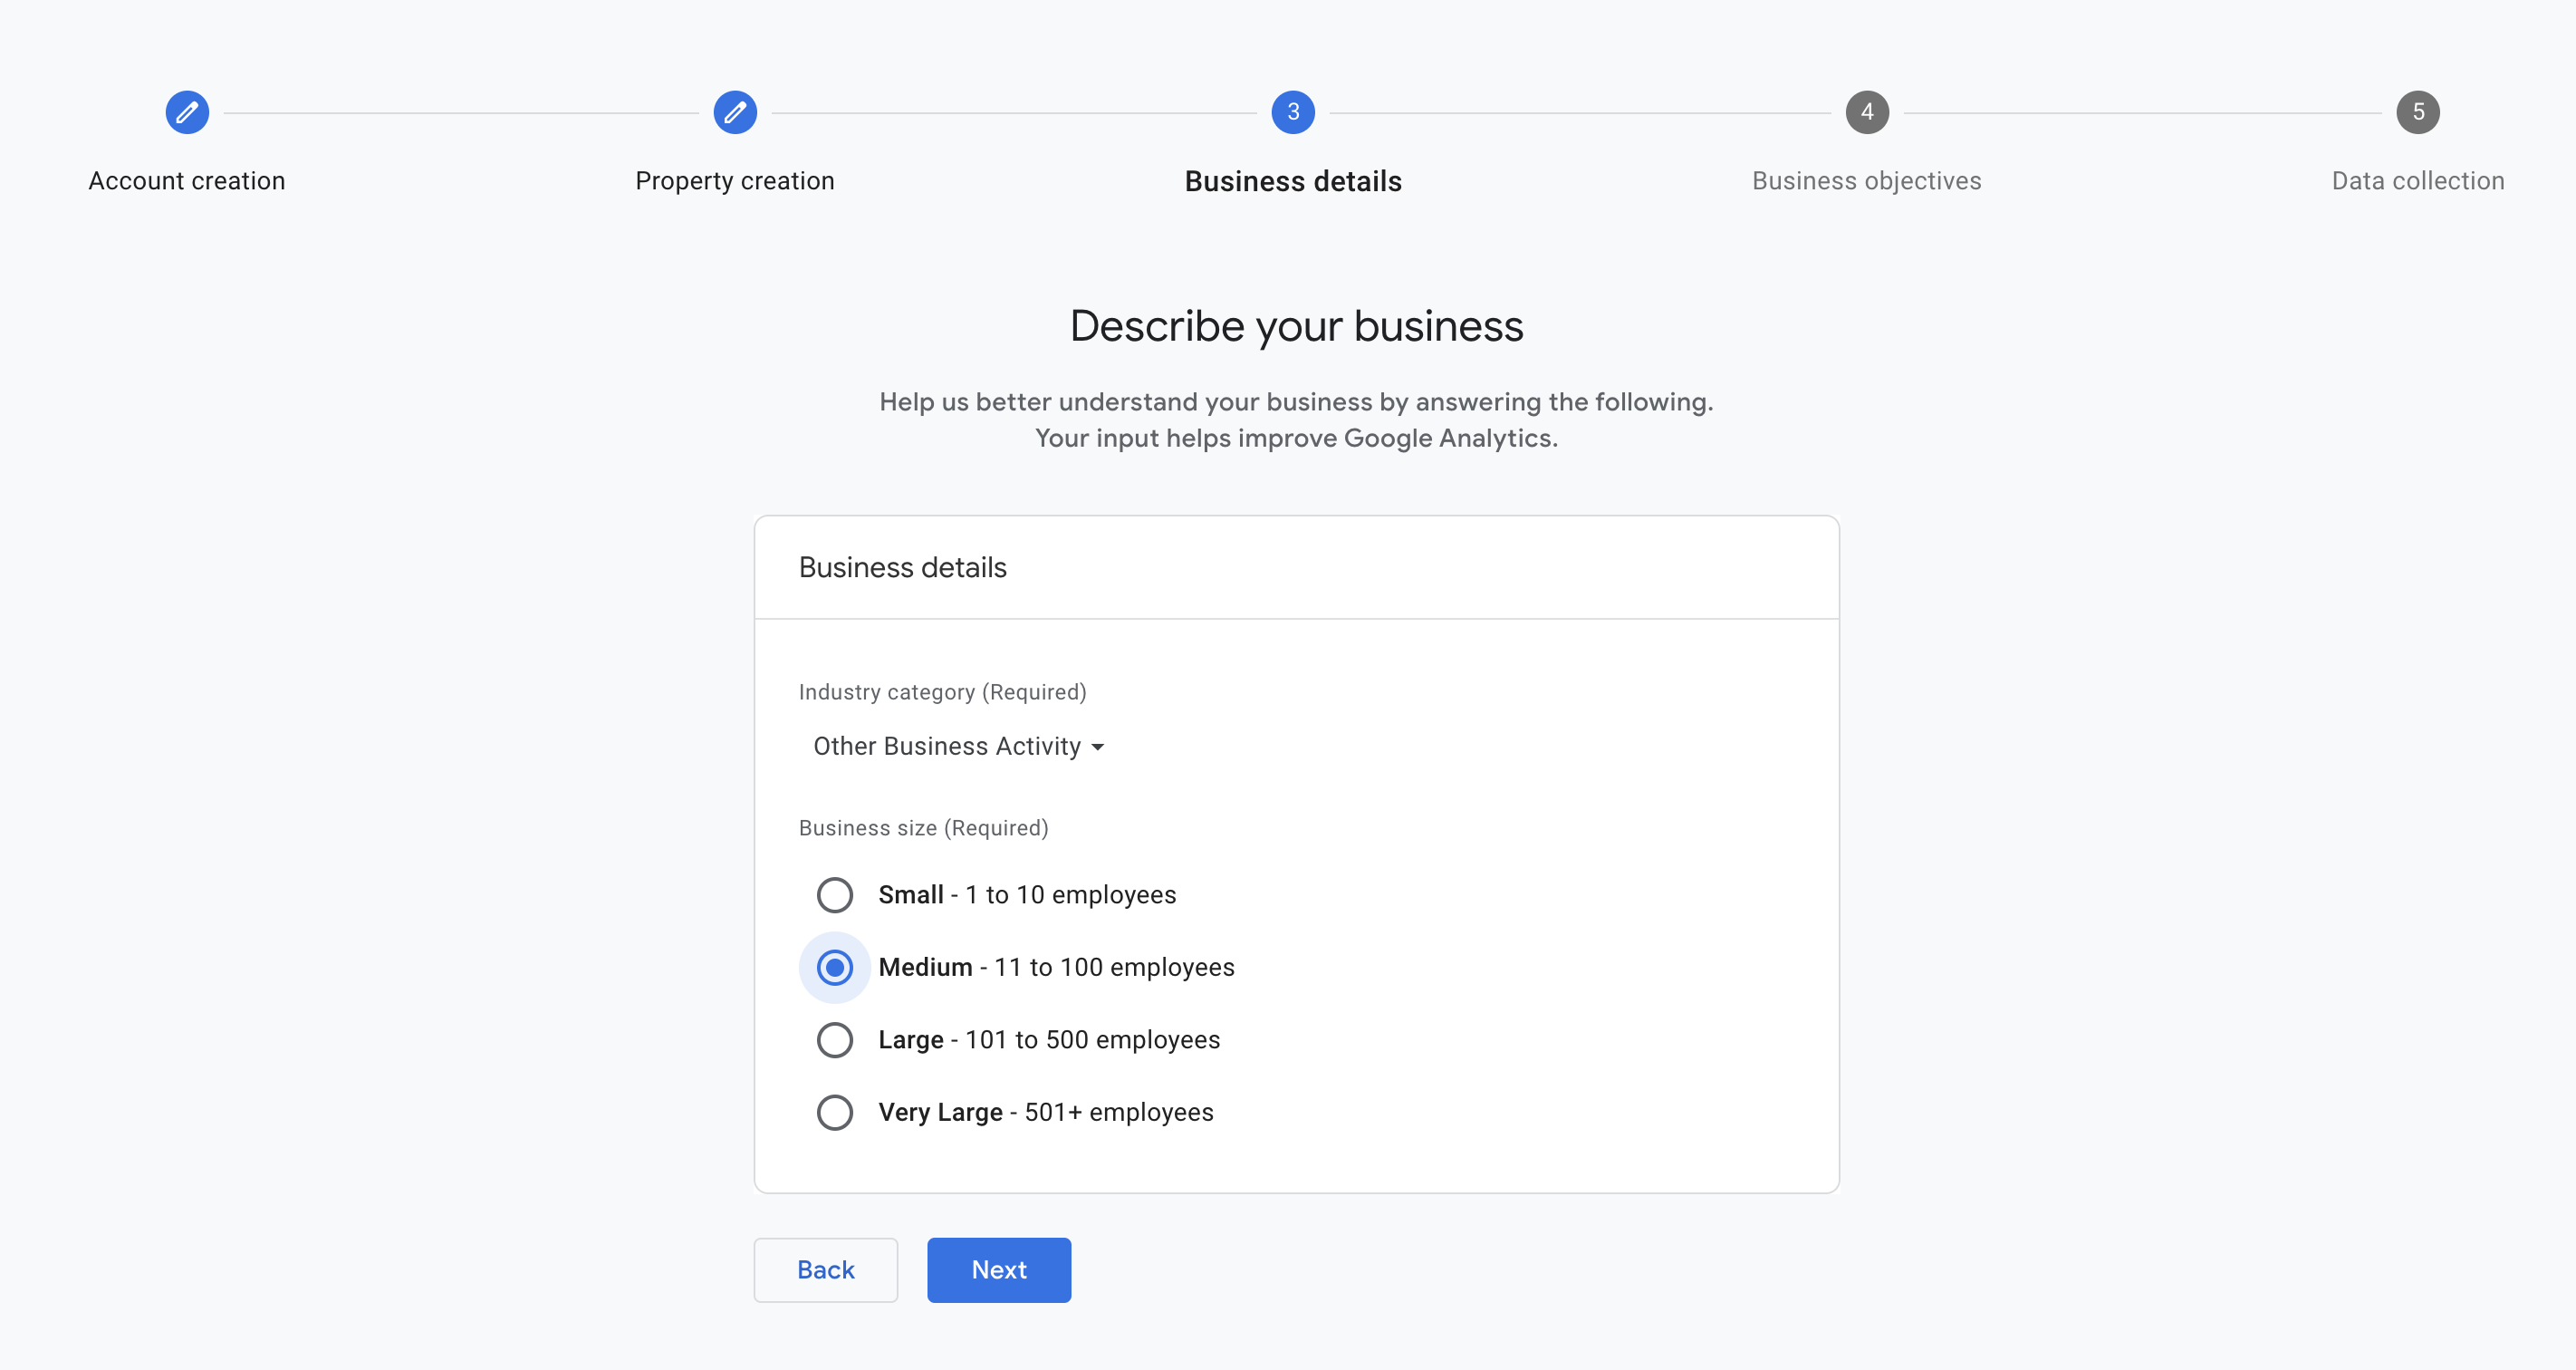
- 描述您的业务
选择业务规模,然后点击“下一步”。
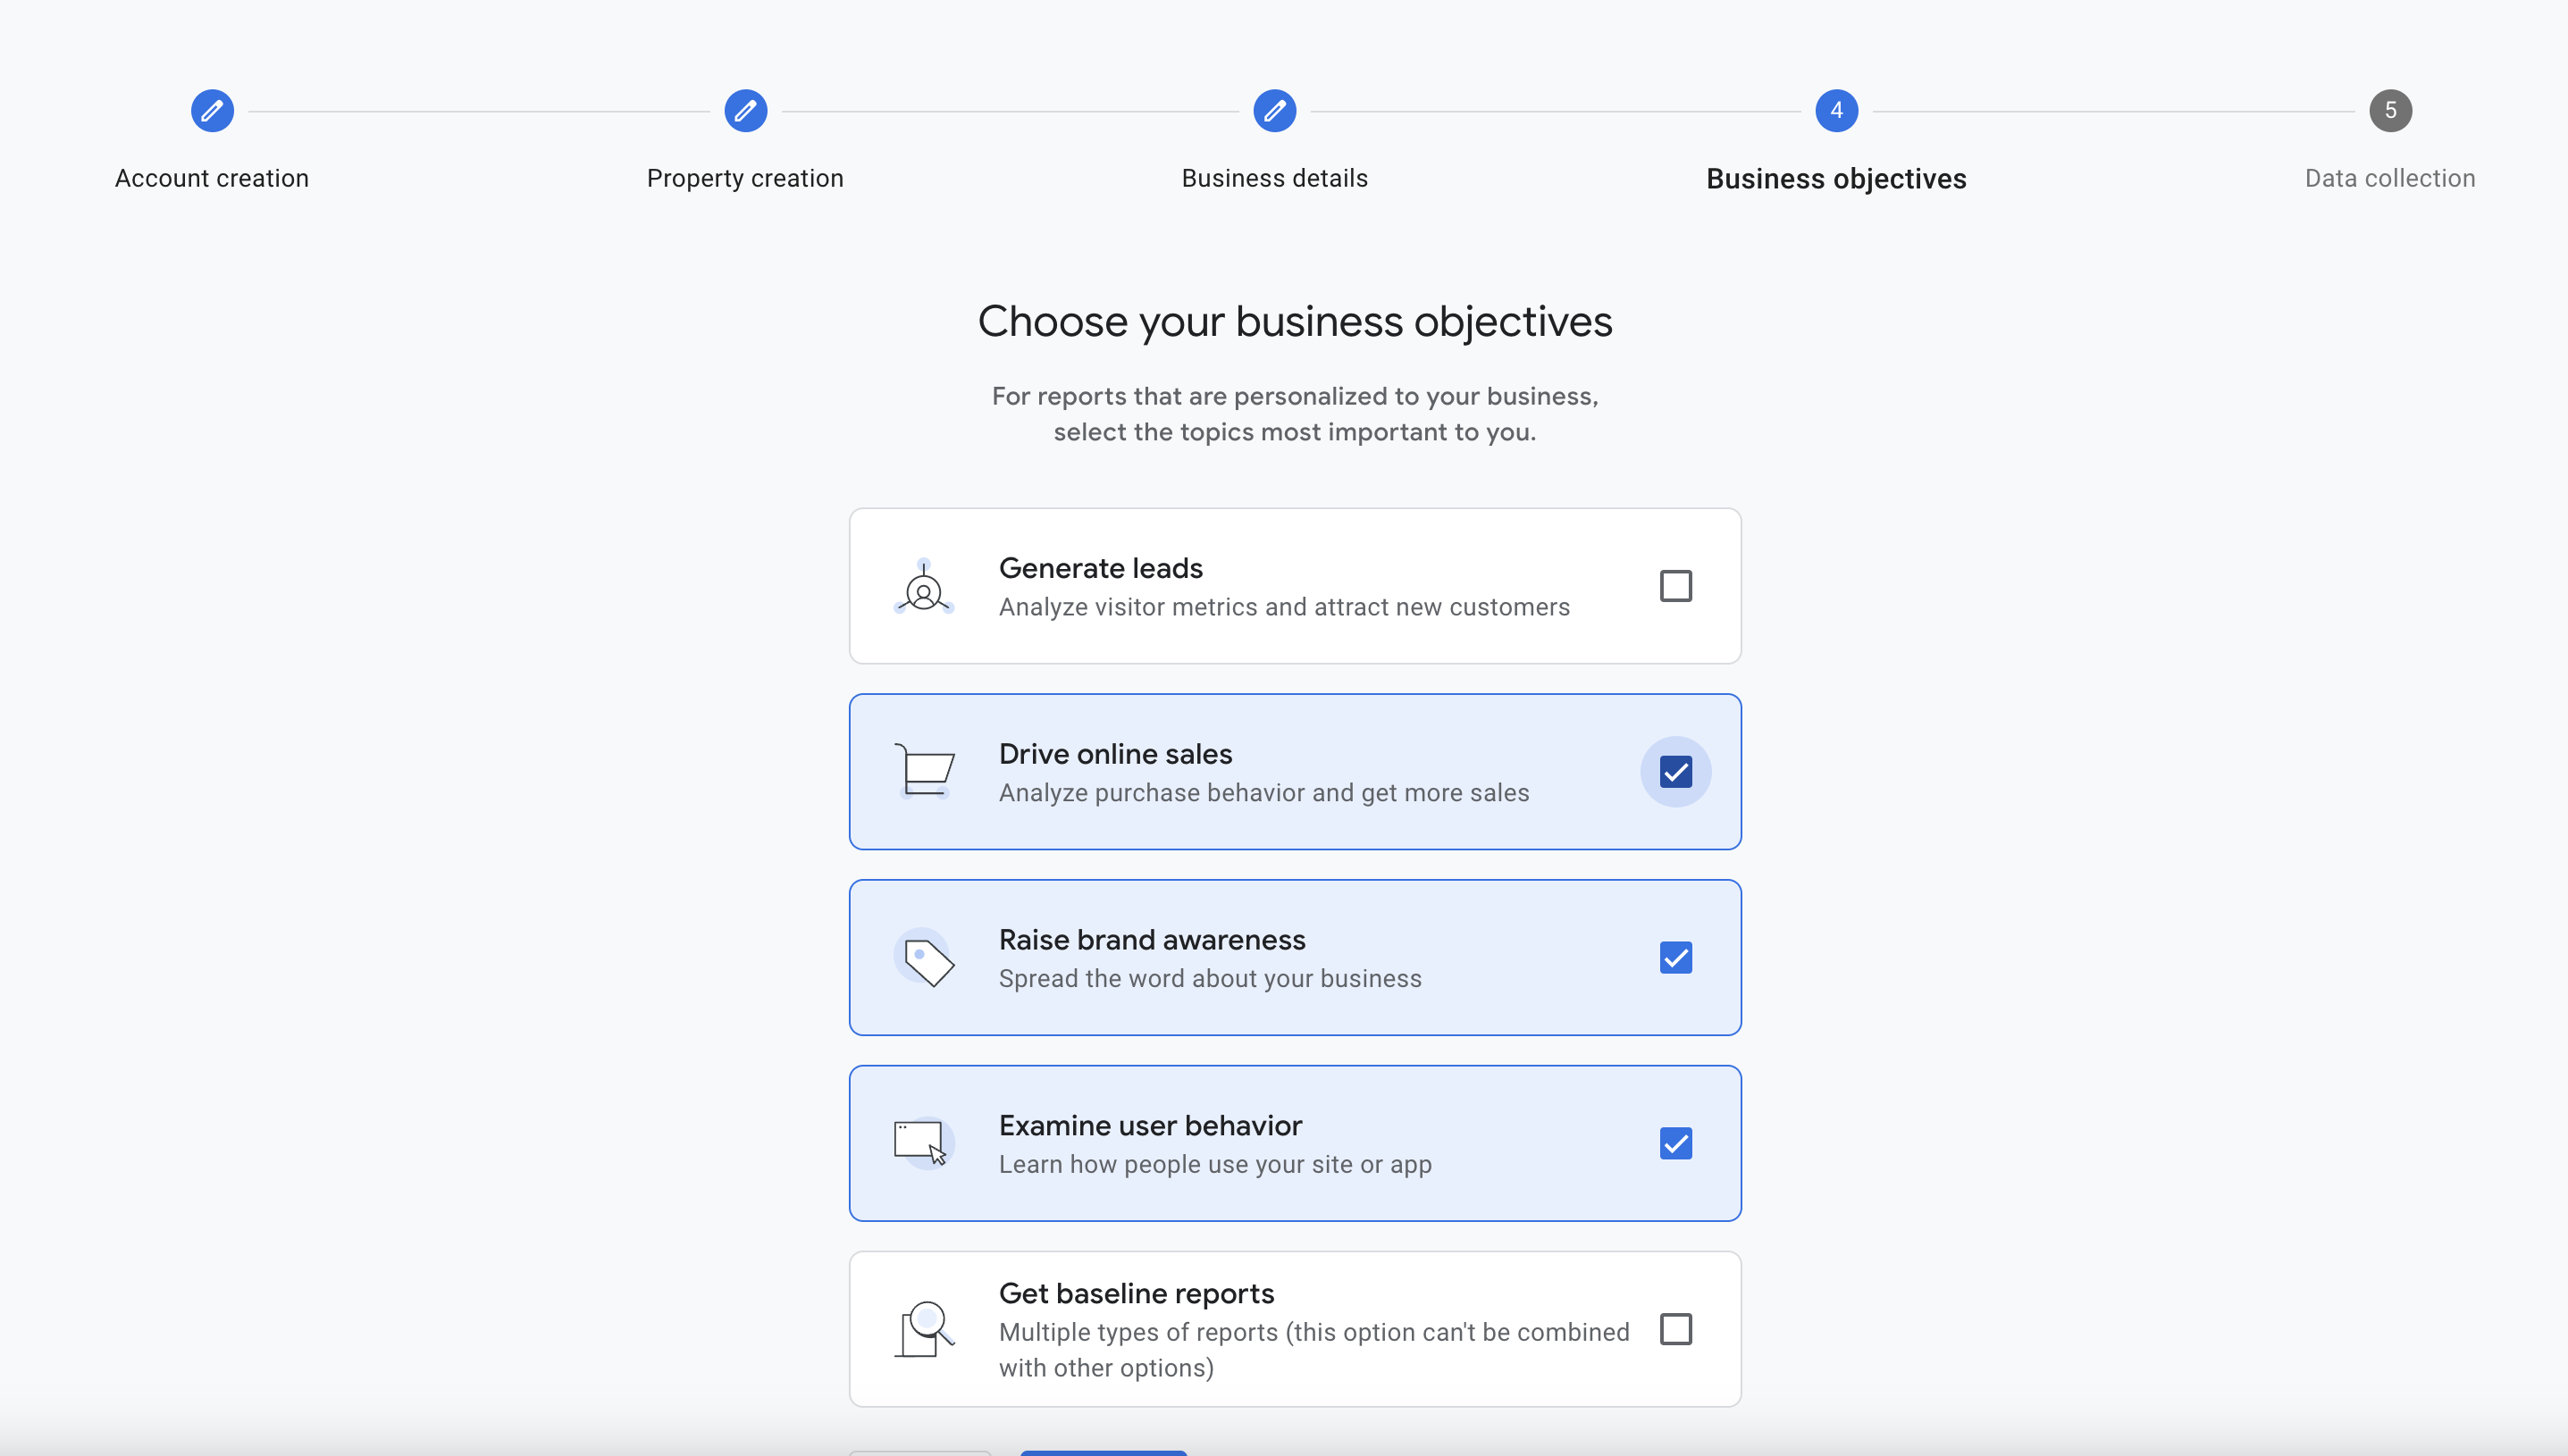
- 选择您的业务目标
选择您的业务目标,然后点击“下一步”。
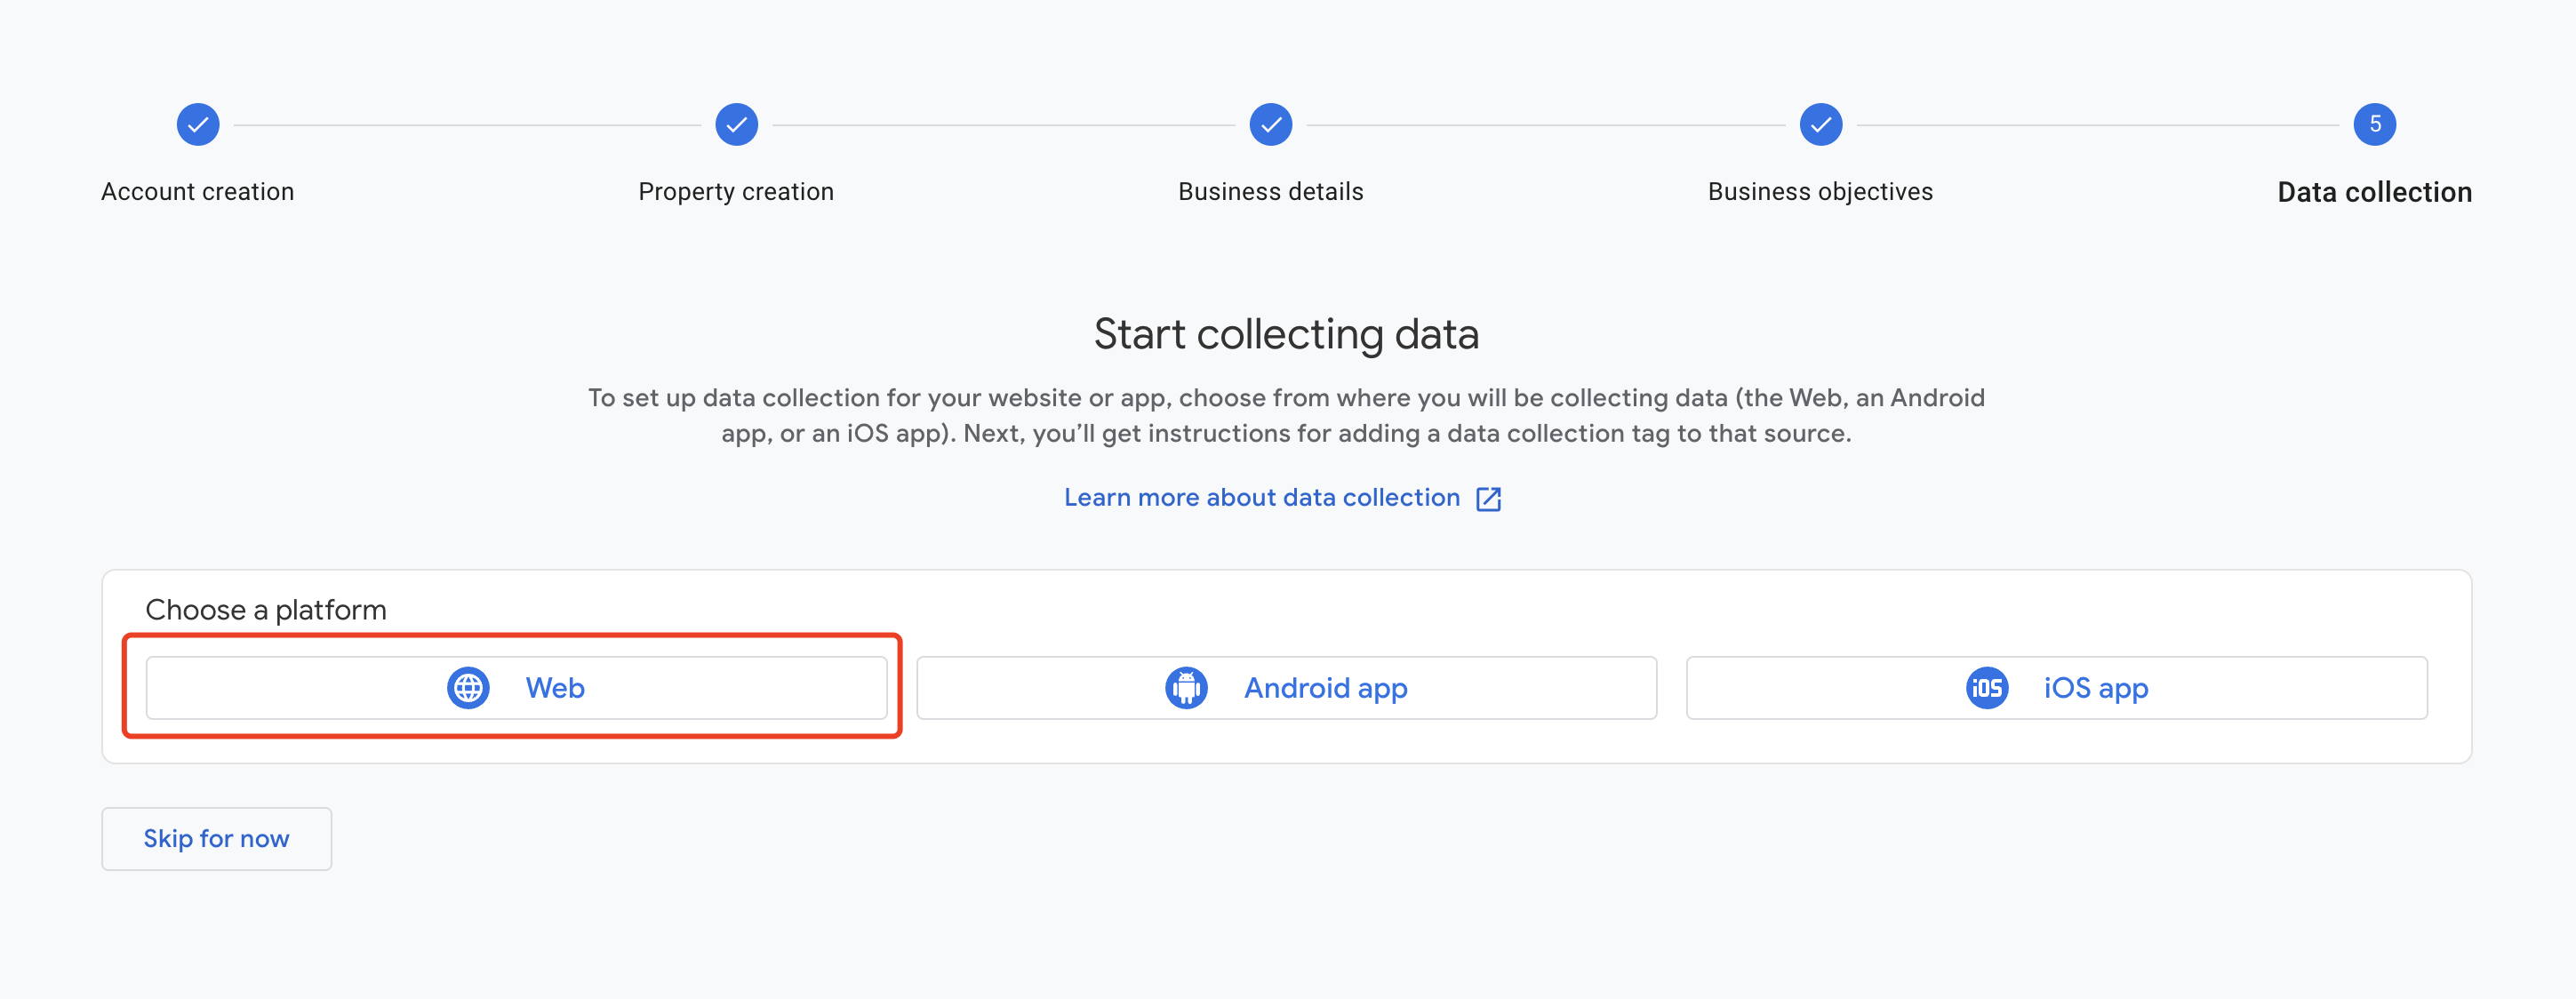
- 选择一个平台开始收集数据
如果您想将 GA 集成到 QuickCreator 中,请选择“Web”。
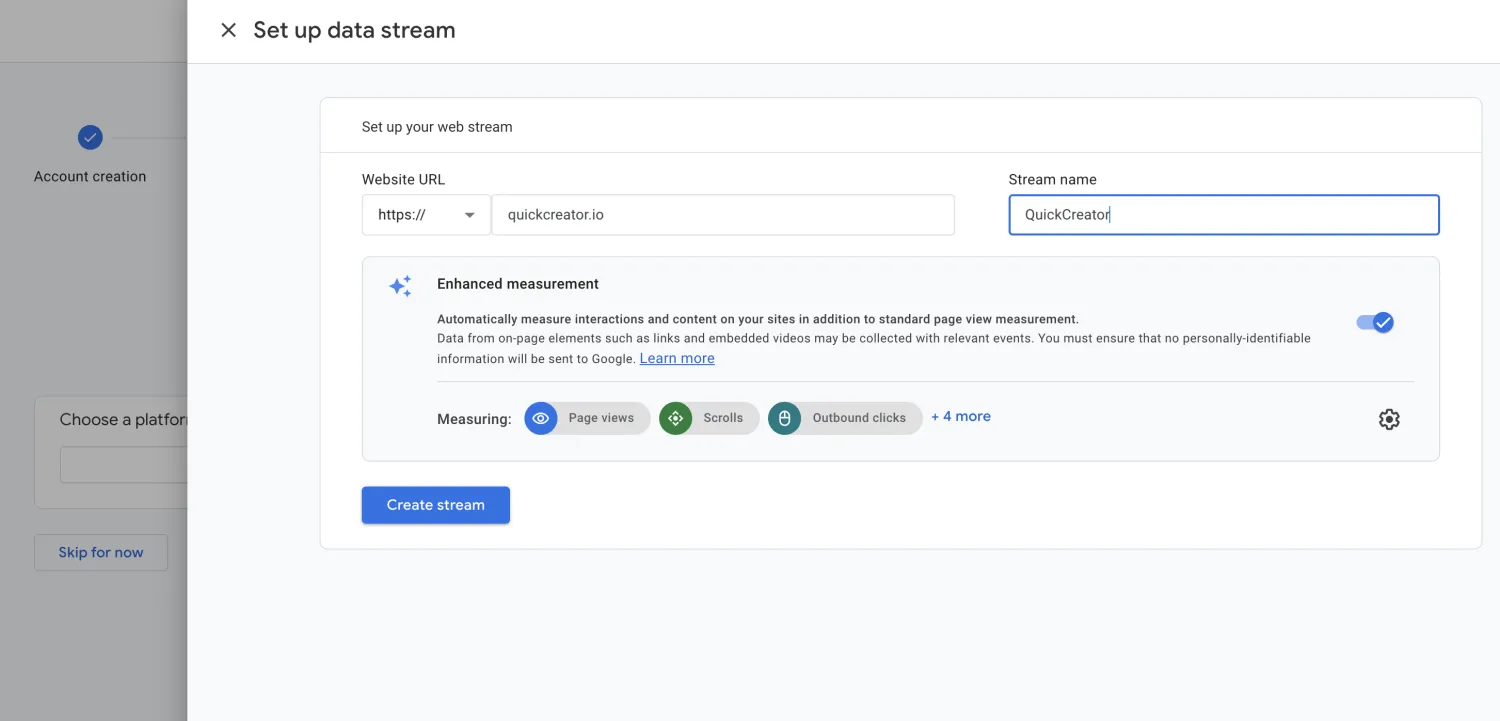
- 设置您的数据流
输入网站 URL 和数据流名称,然后点击“下一步”。
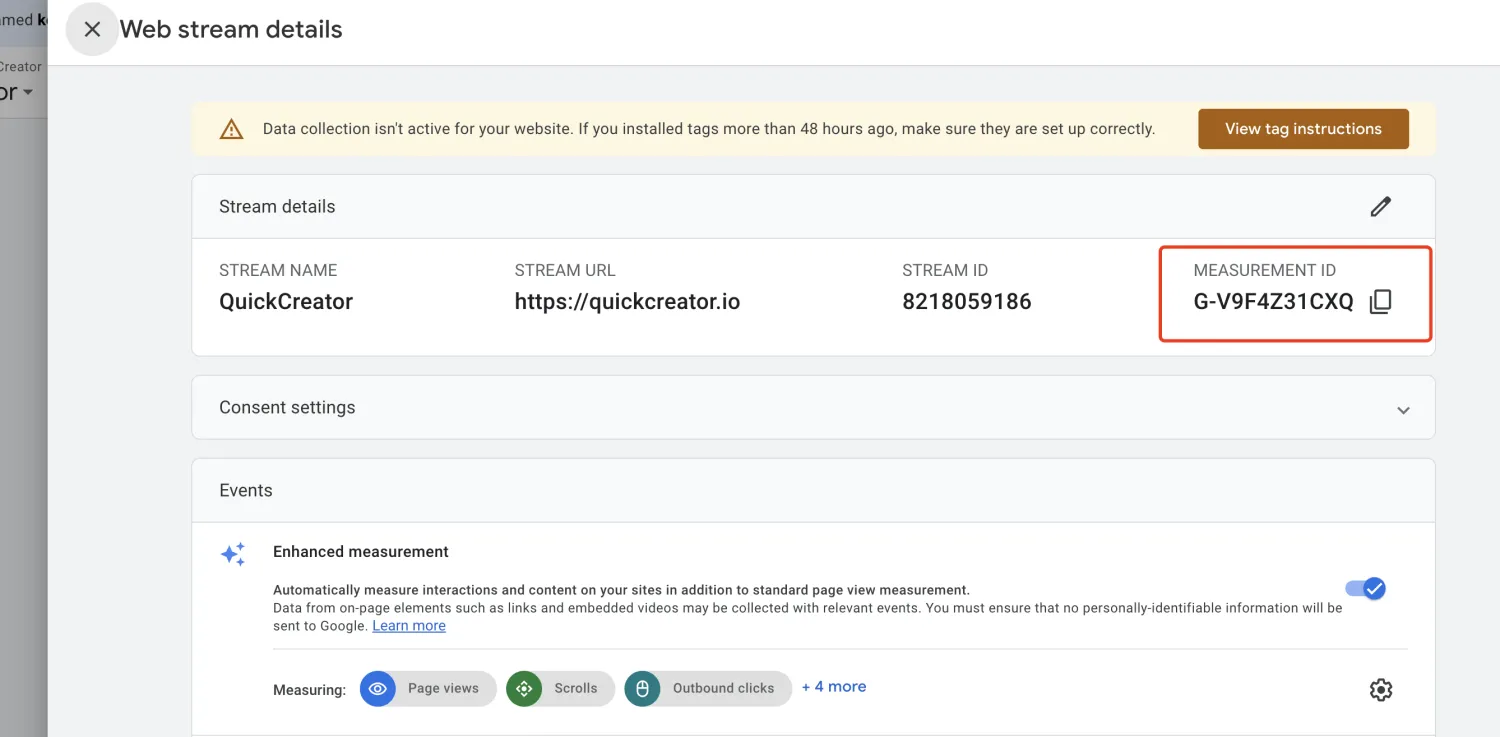
- 复制 Measurement ID
数据流创建后,Web 数据流详细信息会出现。您可以按照如下方式复制 Measurement ID:

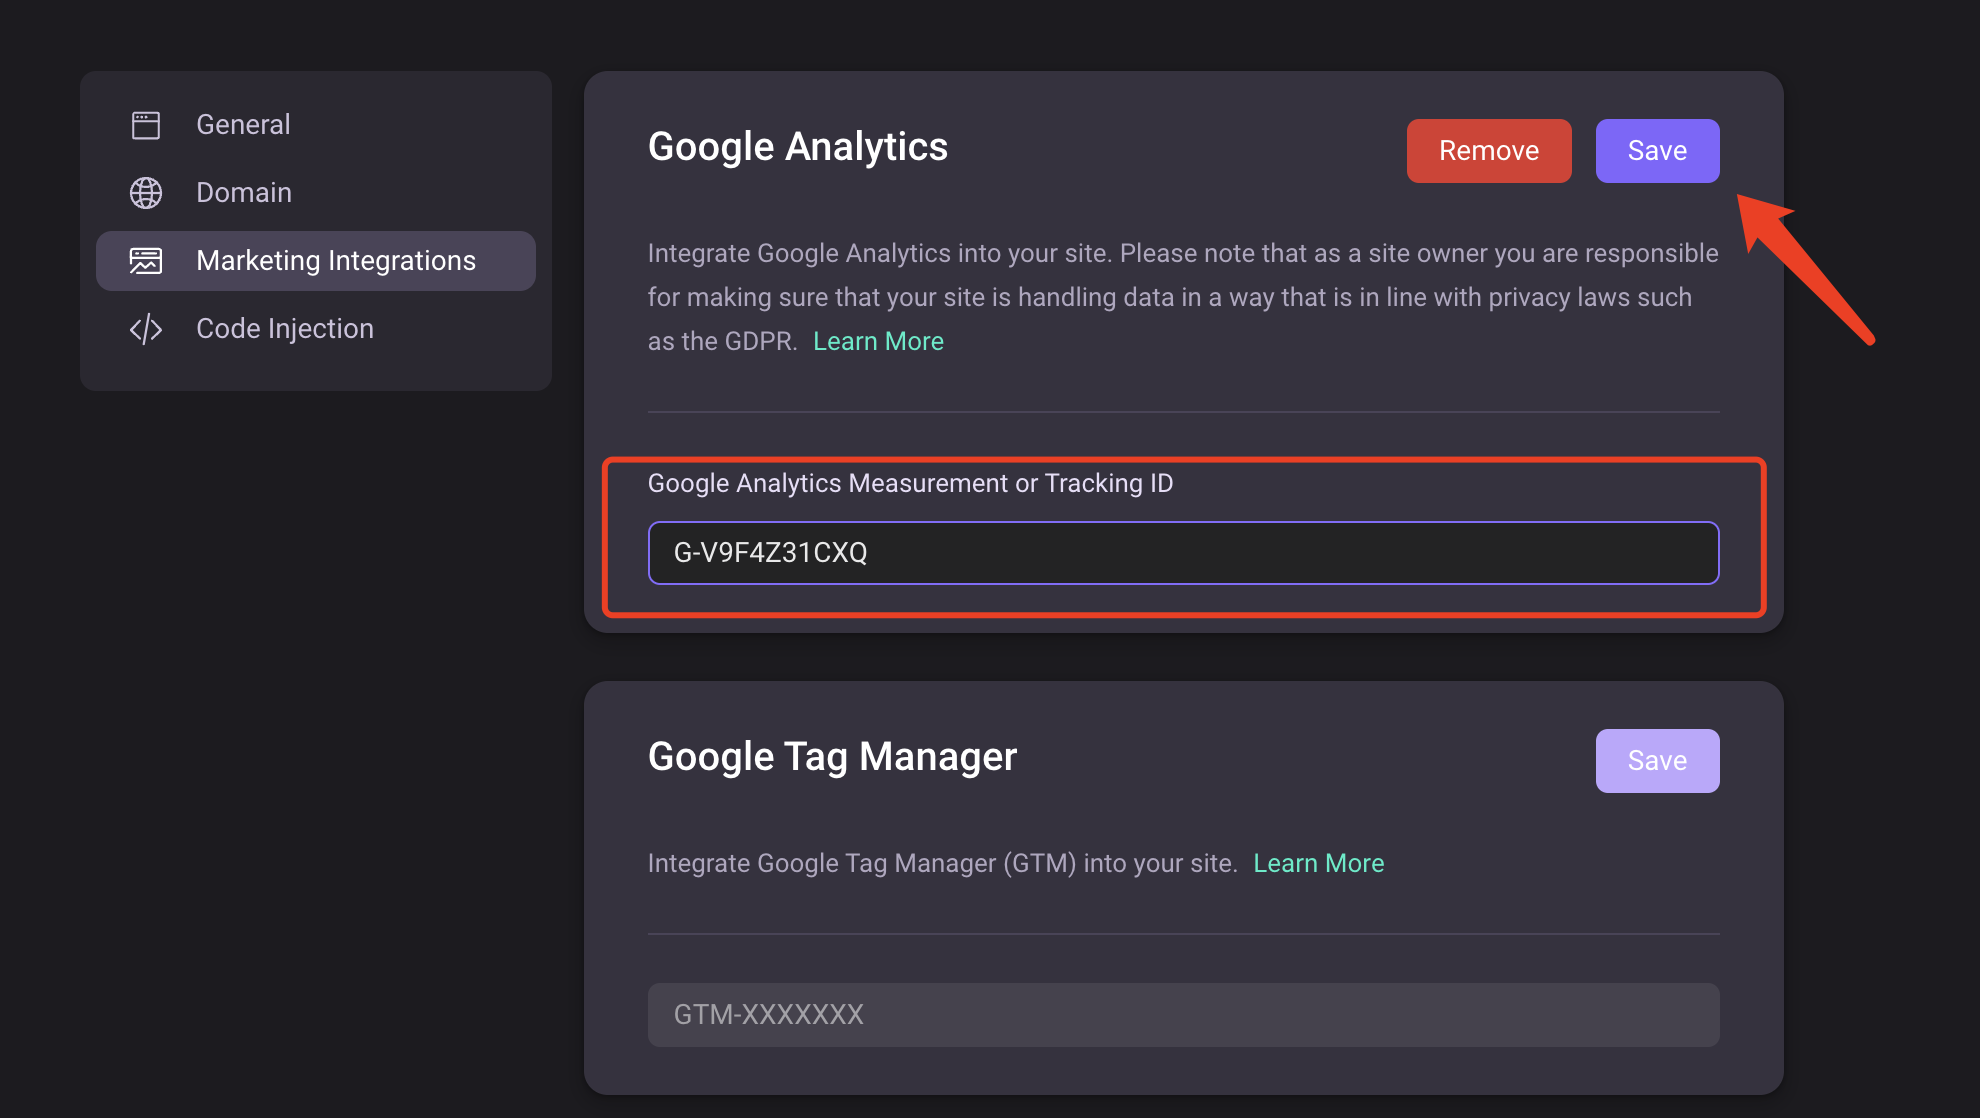
输入 Measurement ID
将 Measurement ID 输入到 QuickCreator 并按如下方式保存:
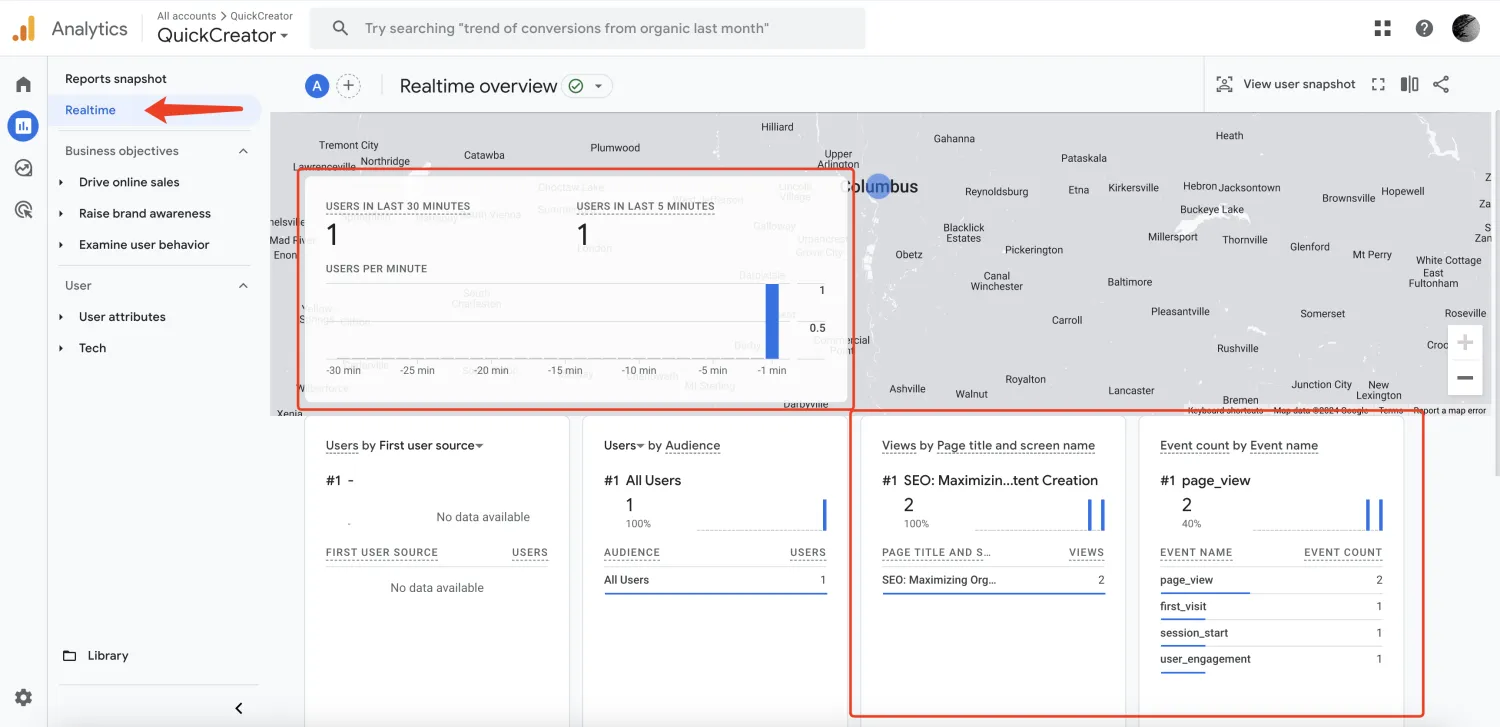
验证整合是否正确设置
保存成功后,您可以访问 QuickCreator 上发布的任意文章,然后返回 Google Analytics 访问实时数据,查看数据是否被收集到。
已有 GA 账户,如何找到 Measurement ID?
如果您已经有一个 GA 账户并已配置数据流,您可以按如下步骤再次找到 Measurement ID:
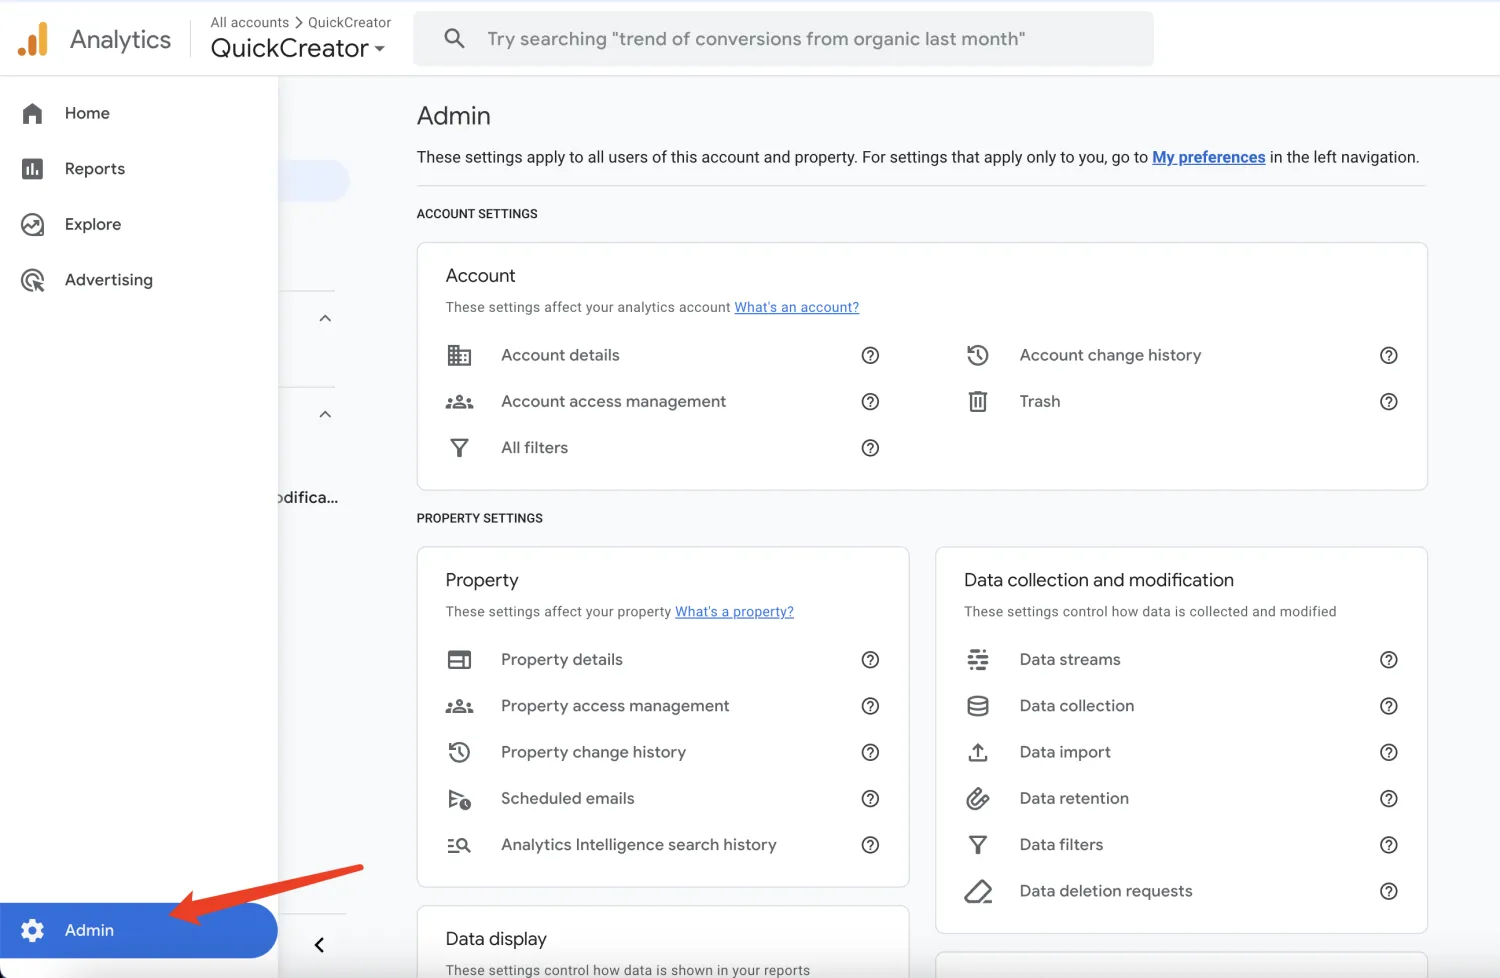
- 点击左侧菜单中的 Admin:
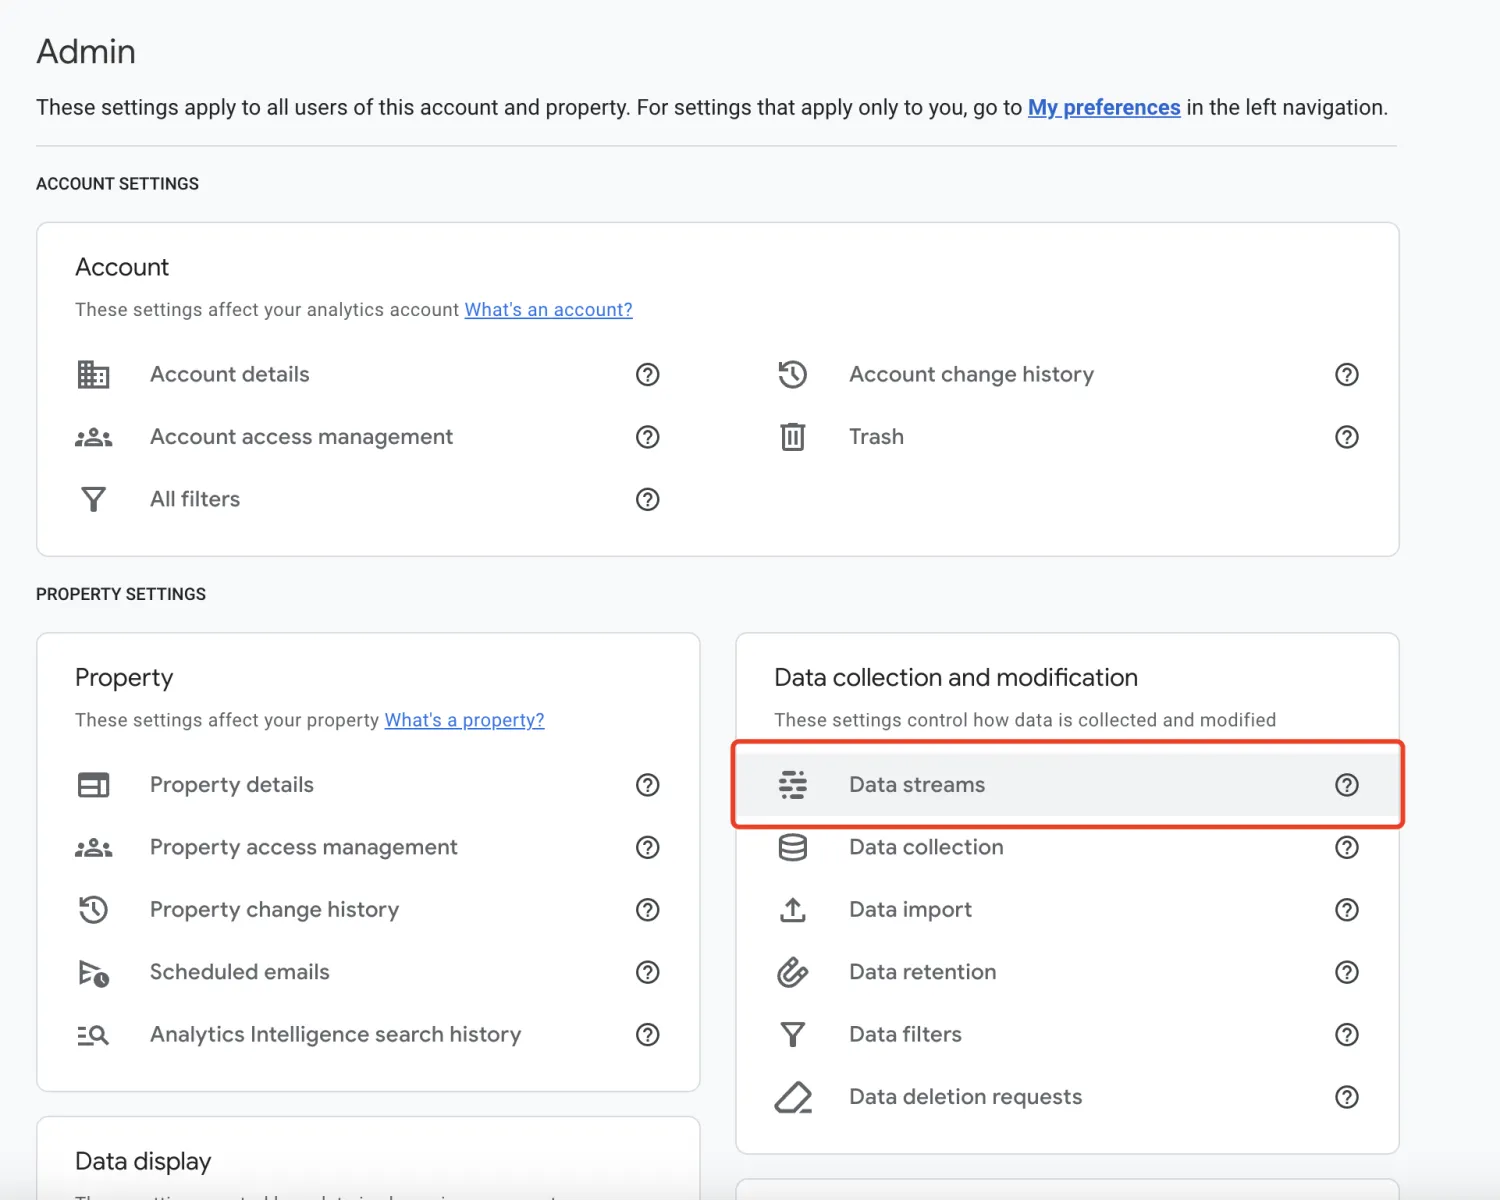
- 点击 “数据流”:
- 选择一个数据流:
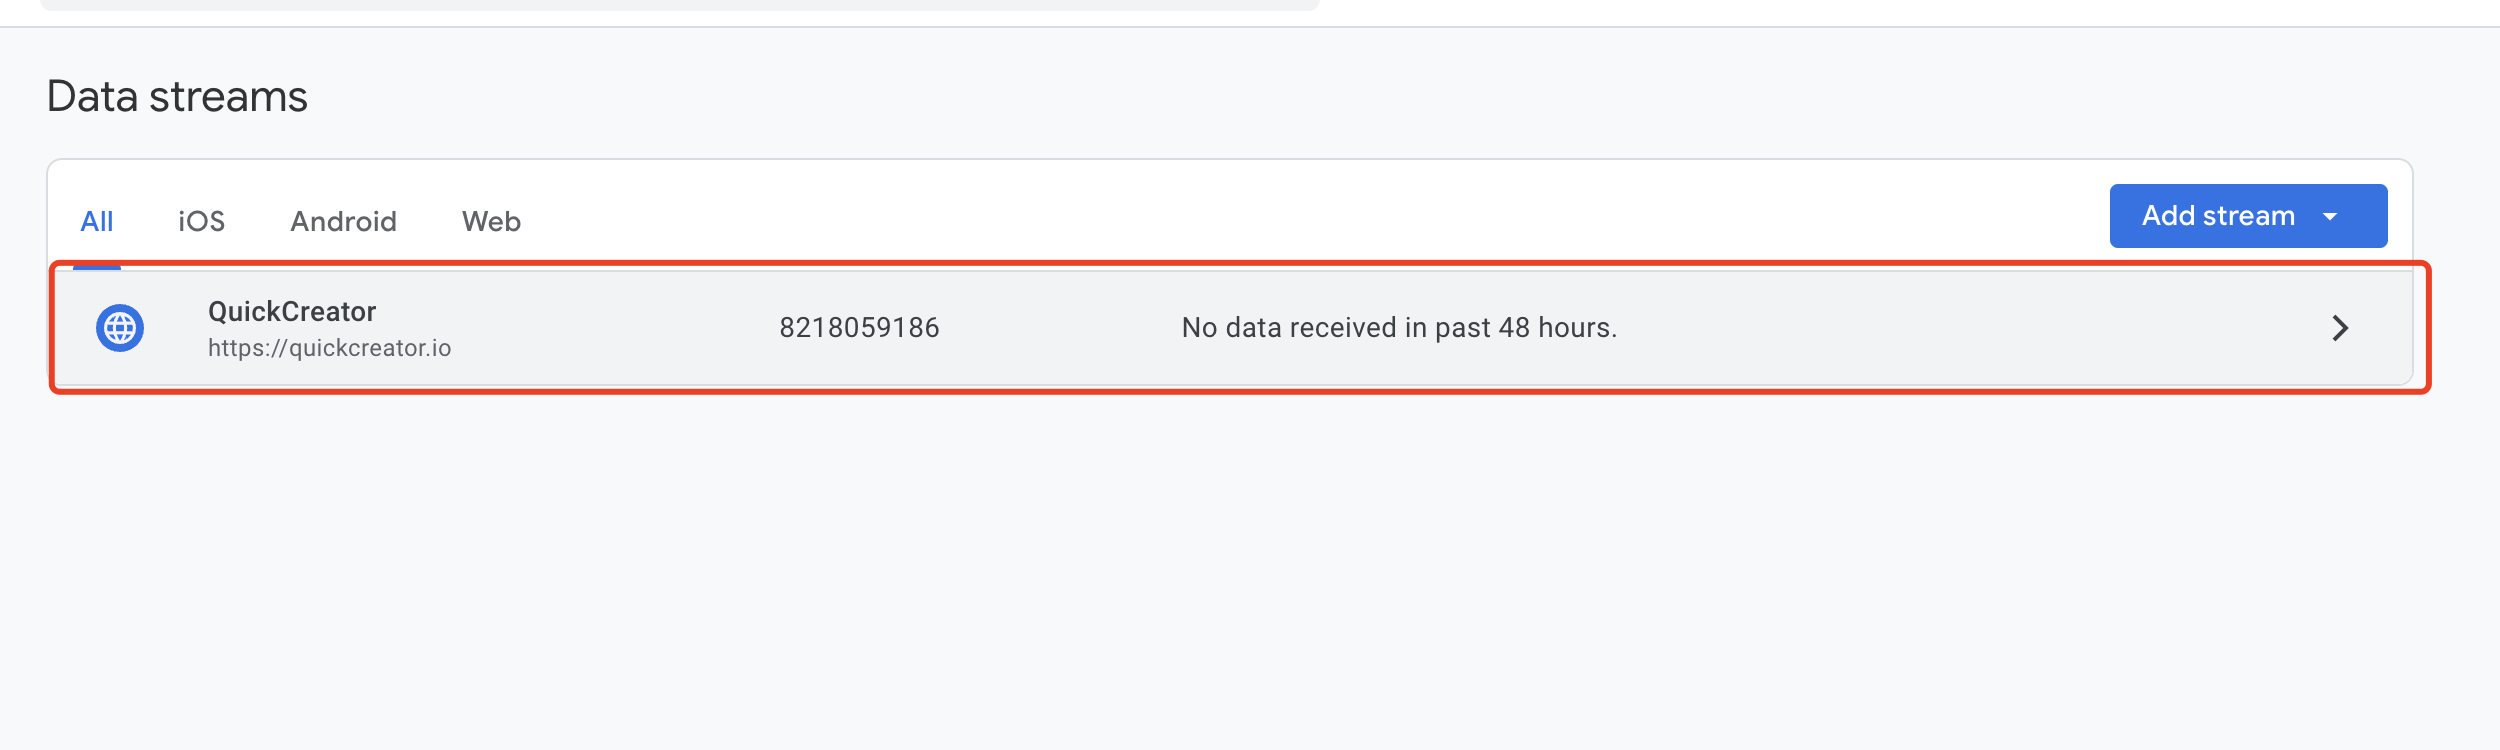
- 复制 Measurement ID:
如何集成 GTM
如何找到 Tag ID
-
登录 Google 标签管理器
-
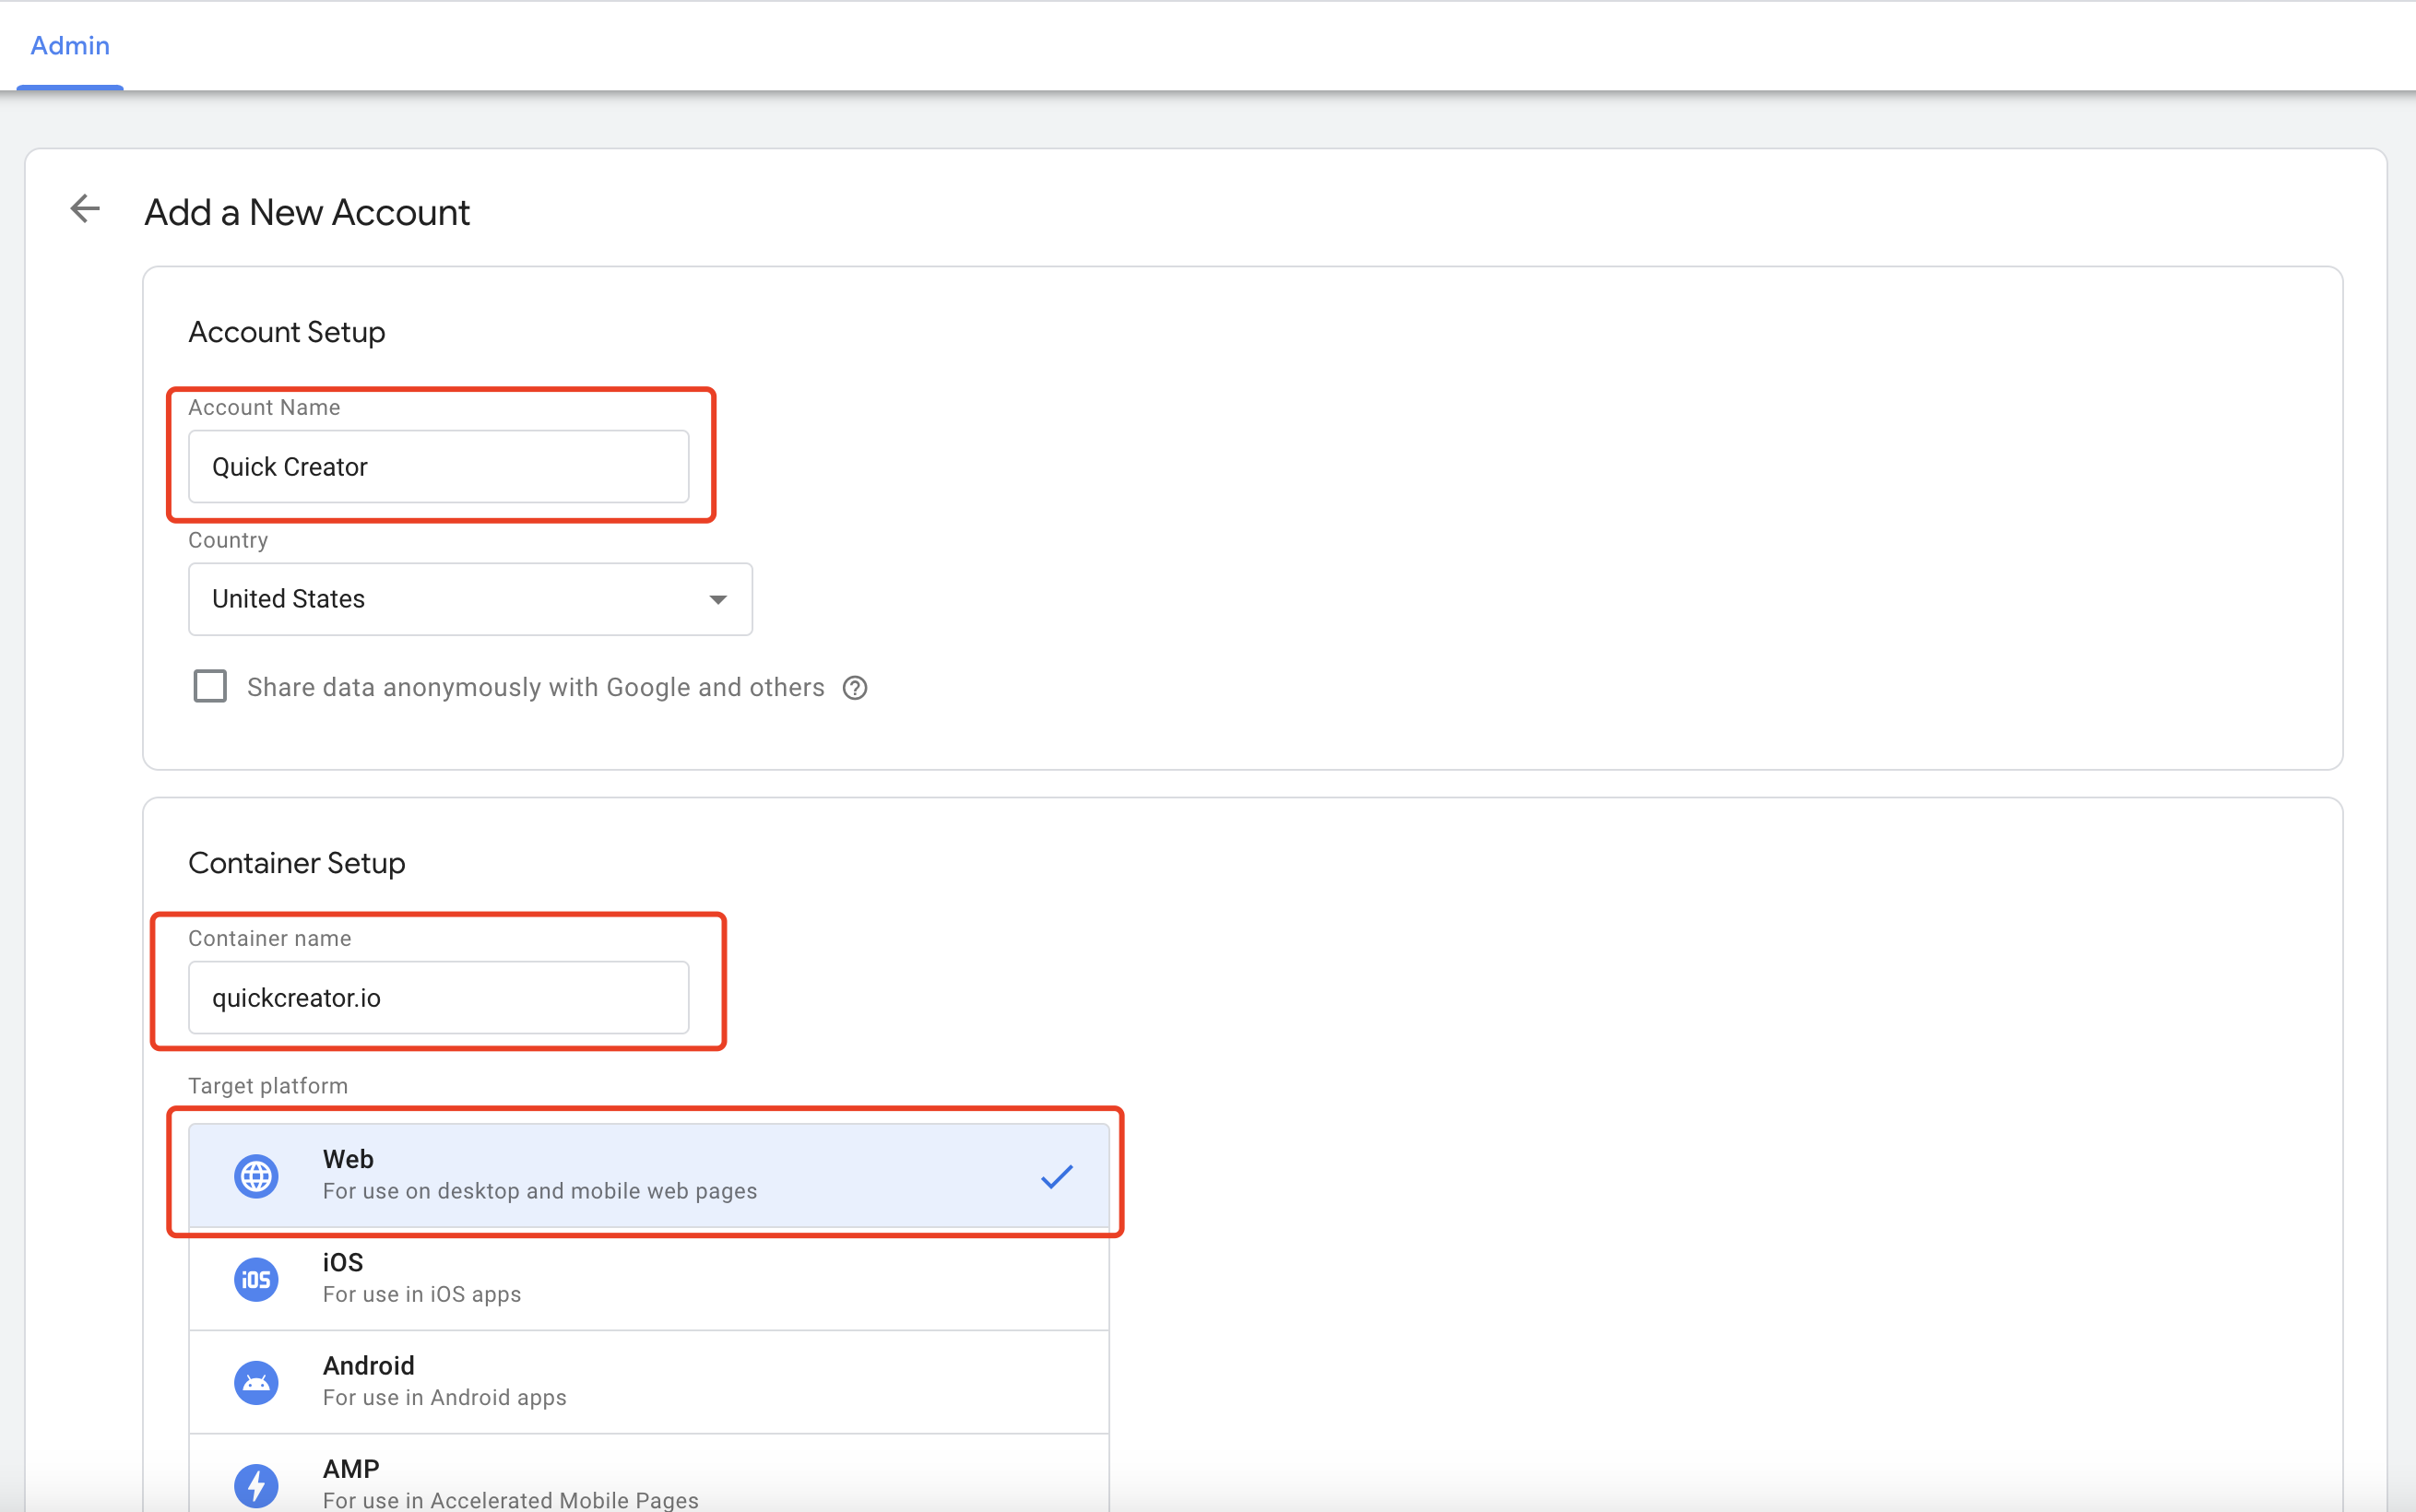
添加一个新账户
输入账户名称、容器名称,选择目标平台,然后点击“创建”:
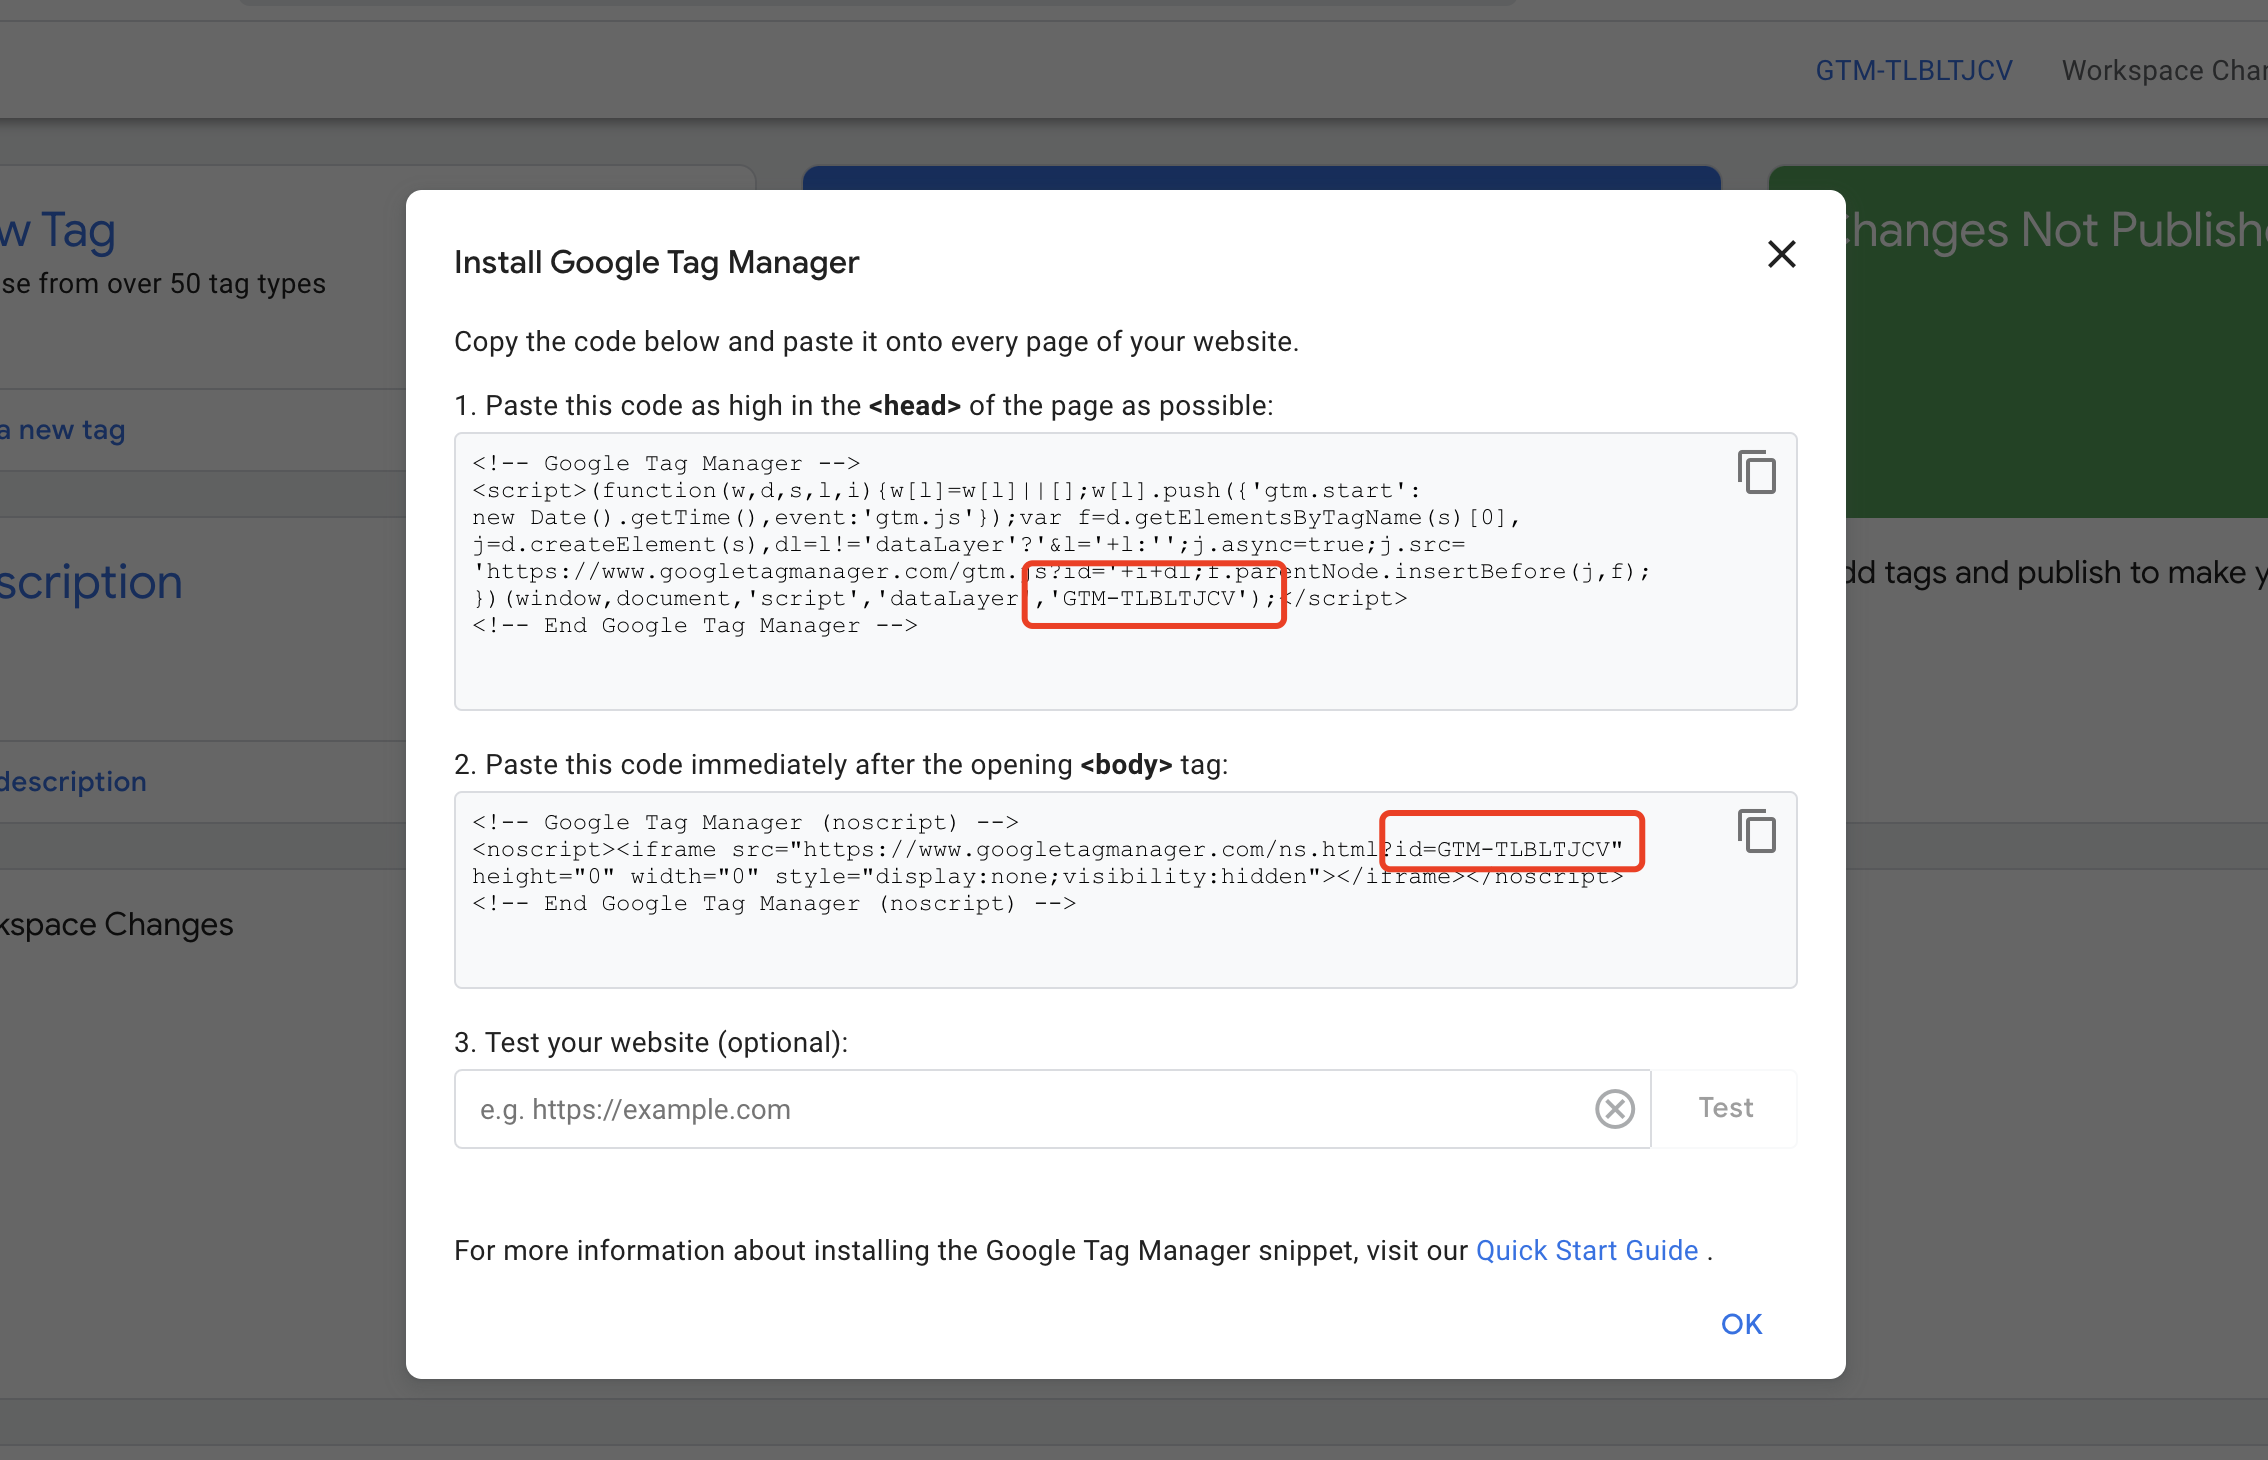
- 复制 Tag ID
账户成功创建后,会出现如下弹出框。您可以根据图中提示找到 Tag ID,请复制它:
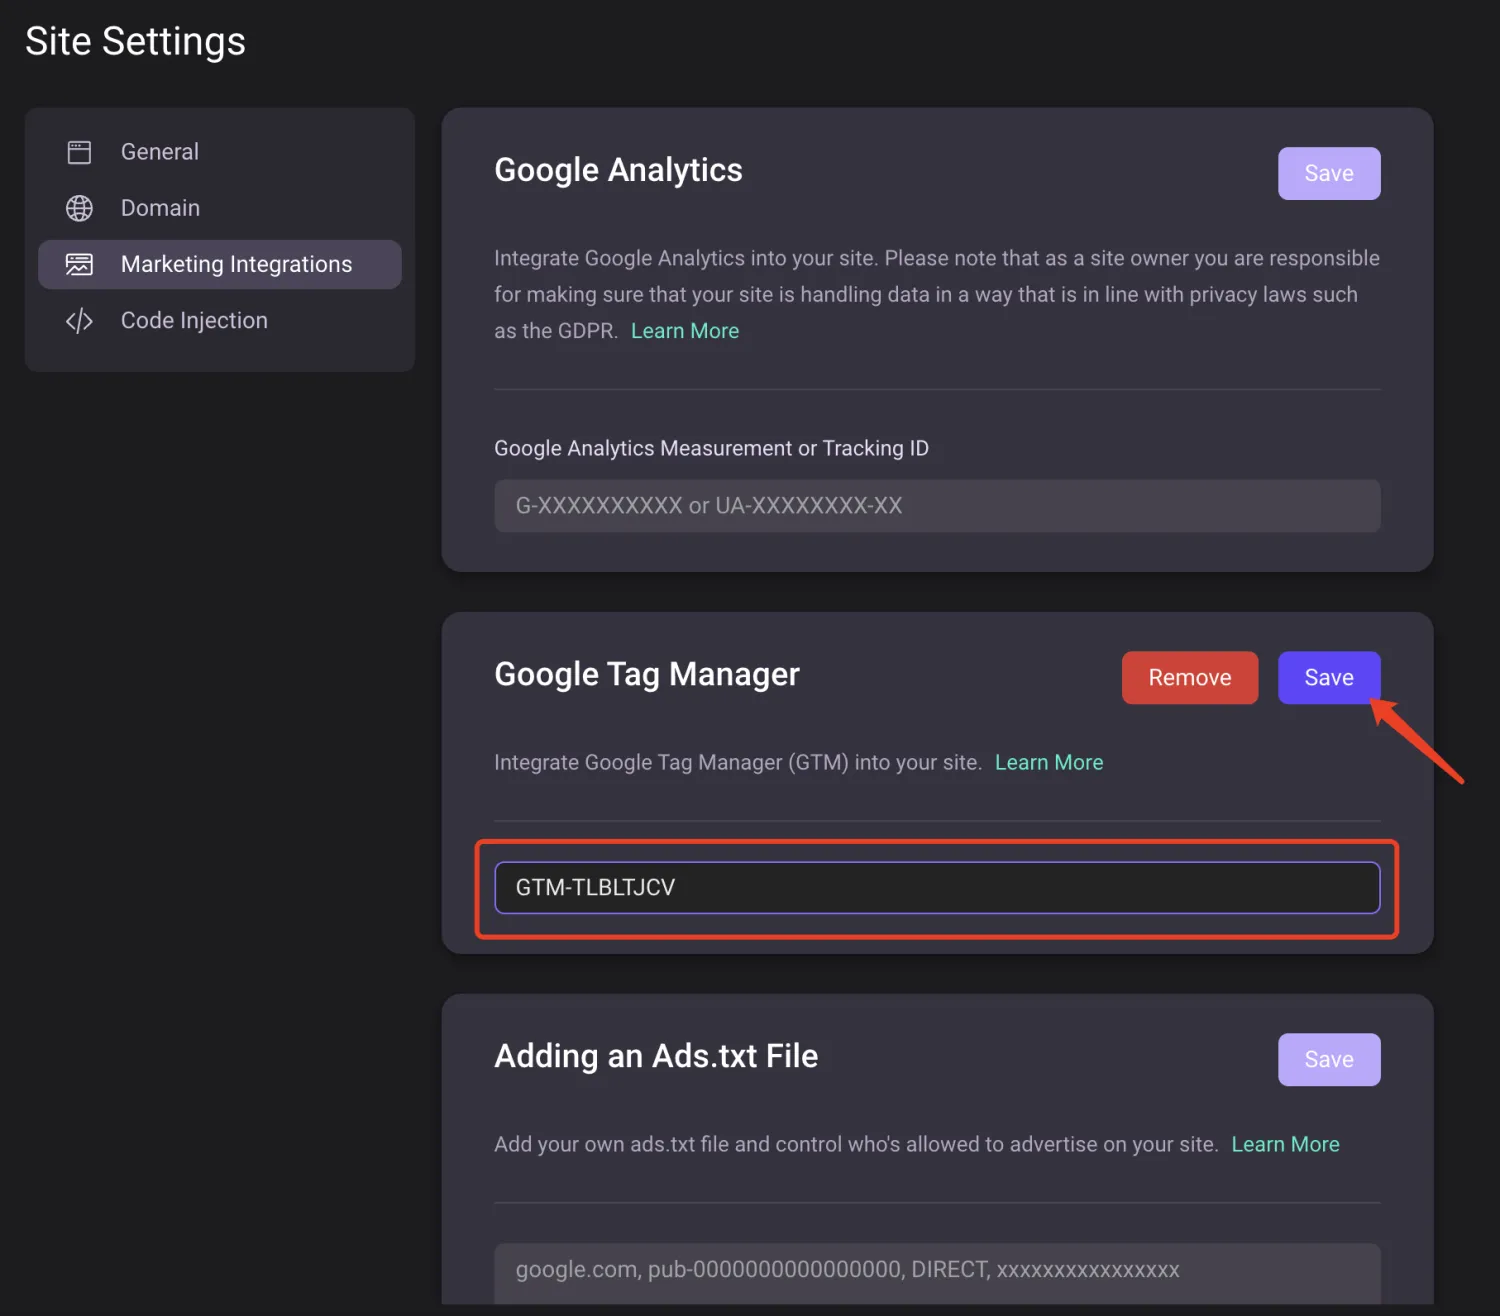
输入 Tag ID
将 Tag ID 输入到 QuickCreator 并按如下方式保存:
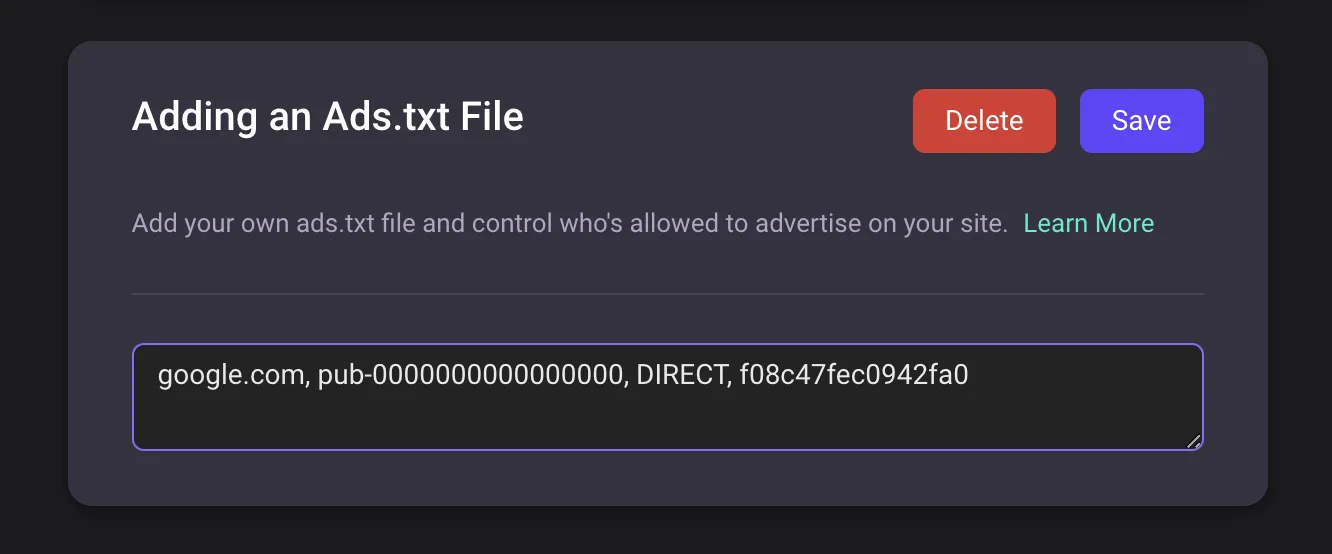
上传 Ads.txt 文件
在某些场景下,您可能需要将 Ads.txt 文件上传到 QuickCreator。您不需要创建文件,只需按照如下方式填写内容并保存即可。